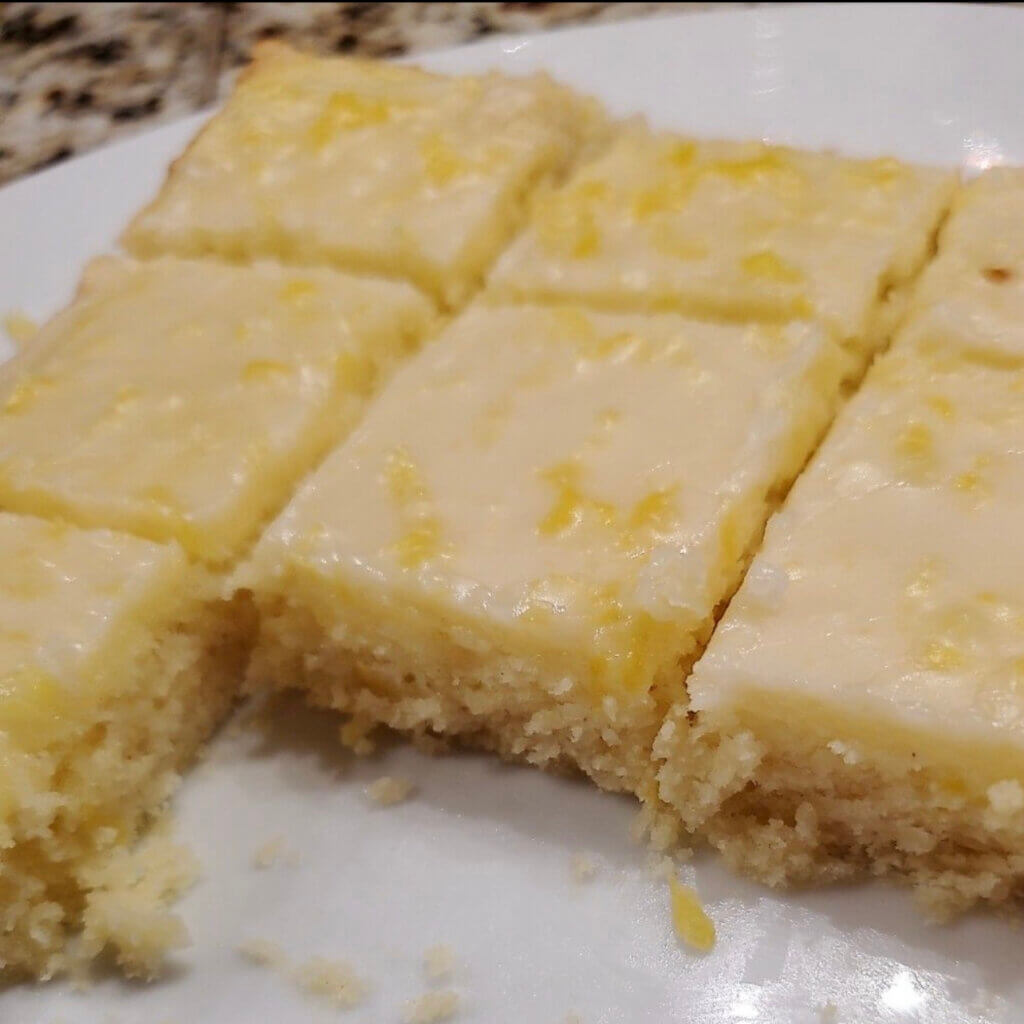
Greetings, radiant sun-lovers! It’s time to dive into a toothsome dessert that perfectly complements the blossoming spring vibes and sultry summer afternoons. Today, I’ll unfold my straightforward yet super delectable recipe for Lemon-Coated Blondie Squares that will transport your palate on a delightful waltz of tart lemon and sugary surprises. The magic lies in the lemon icing that’s simply too good to resist!
But why should these blondies find their way into your kitchen? Envision the vibrant, bittersweet burst of lemon squares marrying the dense, rich texture of blondies to create a treat that’s a slice of sunshine itself! What’s even better? These divine delights can be prepared in advance for your alfresco brunches or picnics. They’ll maintain their lively flavors and perfect texture for up to 5 days if stored properly!
PREP TIME: 20minutes mins
COOK TIME: 25minutes mins
RESTING TIME :1hour hr
TOTAL TIME :1hour hr 45minutes mins
Ingredients:
- 2 sticks (1 cup) of unsalted butter, softened to room temperature
- 1 1/2 cups of granulated sugar
- 2 large eggs
- 3 tablespoons of freshly squeezed lemon juice
- 2 teaspoons of fresh lemon zest
- 1 1/2 cups of all-purpose flour
- 1/2 teaspoon of baking powder
Instructions:
- Preheat your oven to 350°F. Arrange a parchment paper lining inside your 8″ x 13″ baking pan and keep it aside. This easy trick will save you from any unwelcome, gooey aftermath!
- Start with the butter. Whisk it in a medium-sized bowl using a hand mixer until it turns creamy. This process ensures the smooth texture of your blondies.
- Time to add the sweetness! Gradually incorporate the sugar while continuously whisking. Aim to achieve a light and fluffy mixture. Remember, perseverance pays off when it comes to crafting the perfect dessert.
- Next, crack open the eggs one by one, whisking after each addition. This method helps to integrate air, creating a friendly bond between your eggs and butter. Subsequently, blend in your freshly squeezed lemon juice until the mixture achieves perfect harmony.
- Mix in your fresh lemon zest, lending a zingy kick to your batter. Stir this in delicately.
- Now, for your dry ingredients. Over your bowl, position a large sieve, add your flour and baking powder, and gently stir with a spoon. Remove the sieve and fold the flour blend into the wet mix. This step keeps your blondies airy and tender.
- Empty your lively batter into the prearranged baking dish, leveling the surface with a spatula. This assures a uniform bake and that desired golden crust we all crave.
- Bake in the oven for around 22-25 minutes. For a denser texture, stick to 22 minutes. If you’re after a more cake-like feel, prolong the baking time to 25-28 minutes. Once the edges gain a light brown hue and the middle is firm, your blondies are ready.
- Hold your horses! Allow the blondies to chill until they reach room temperature. Then, slice them into 12 equal squares.
- Glazing time! In a small bowl, blend powdered sugar, lemon juice, and lemon zest until smooth. Drizzle this divine icing over your cooled blondies, ensuring even coverage. Give it a moment to set and voila!
- Whip up these Lemon-Coated Blondie Squares and revel in a blast of sunlight with each bite. It’s the dreamy sweet escape you’ve been yearning for this season. Savor the zest of life with Jeviko!
Note:
- Ingredients: Always use fresh lemons and room-temperature softened butter for bold flavor and light texture.
- Mixing: Combine the wet and dry ingredients just until mixed to maintain a fluffy texture in the blondies.
- Baking: Monitor your baking time to ensure lightly browned edges and a set center. Check doneness with a toothpick.
- Cooling: Allow the blondies to cool completely before adding the glaze for a perfect set.
- Glazing: Aim for a thin, even layer of glaze over each blondie.
- Storage: Store your blondies in an airtight container at room temperature to keep them fresh and tasty for up to 5 days.
- Remember, enjoy the process and the taste of your sunny, zesty treats! Happy baking!