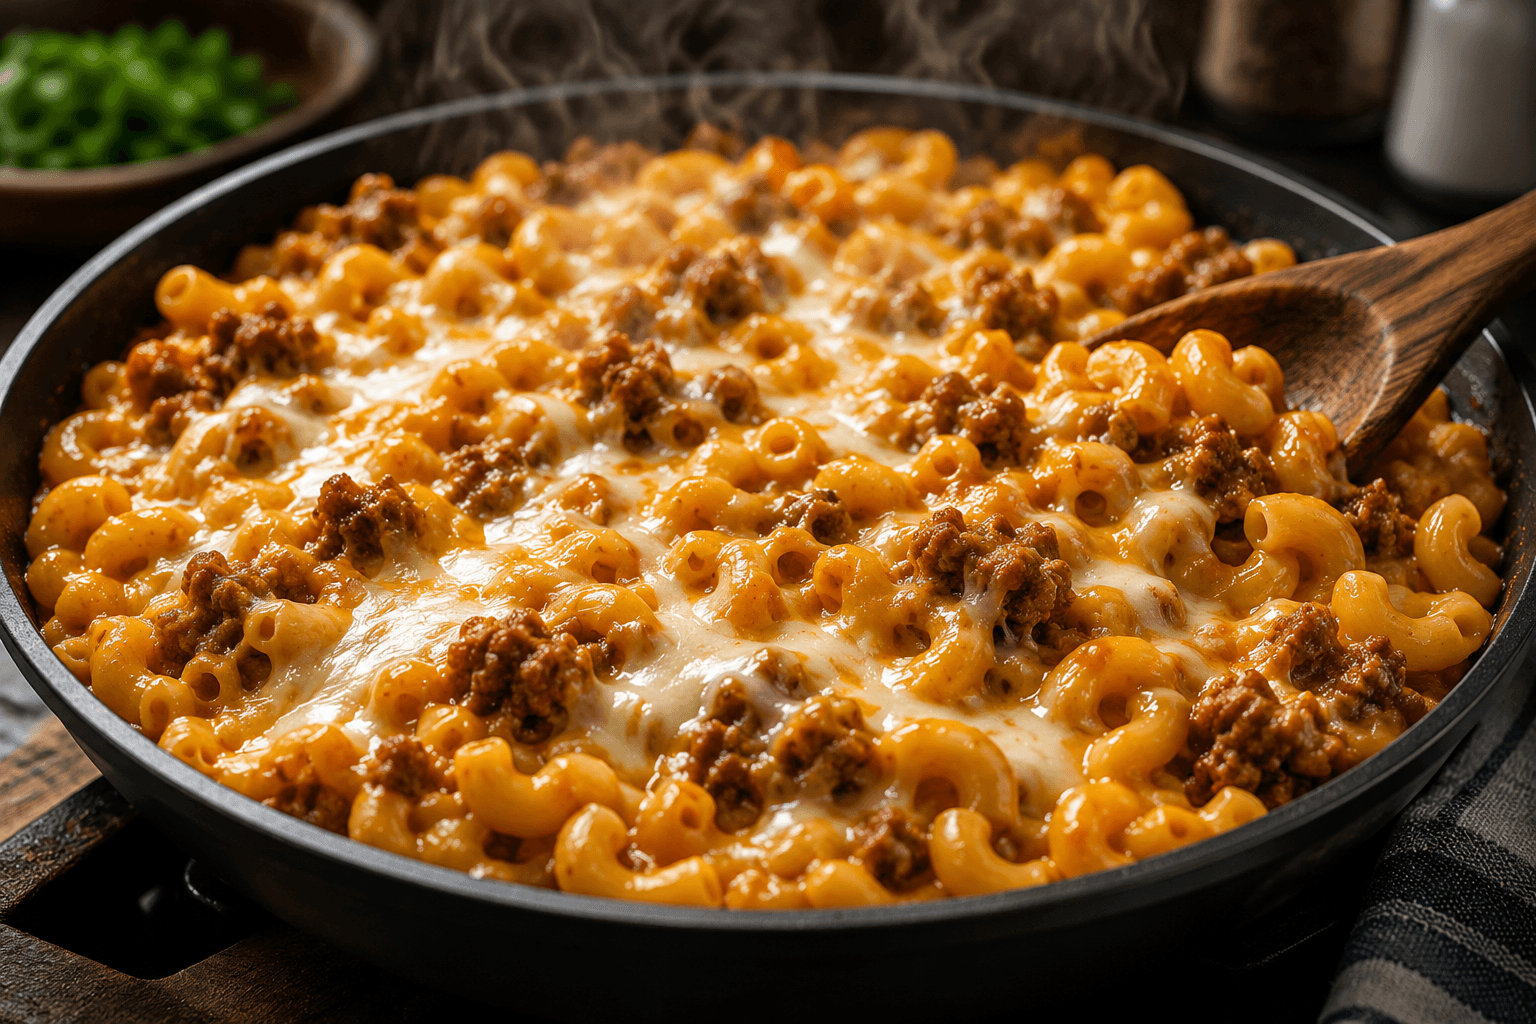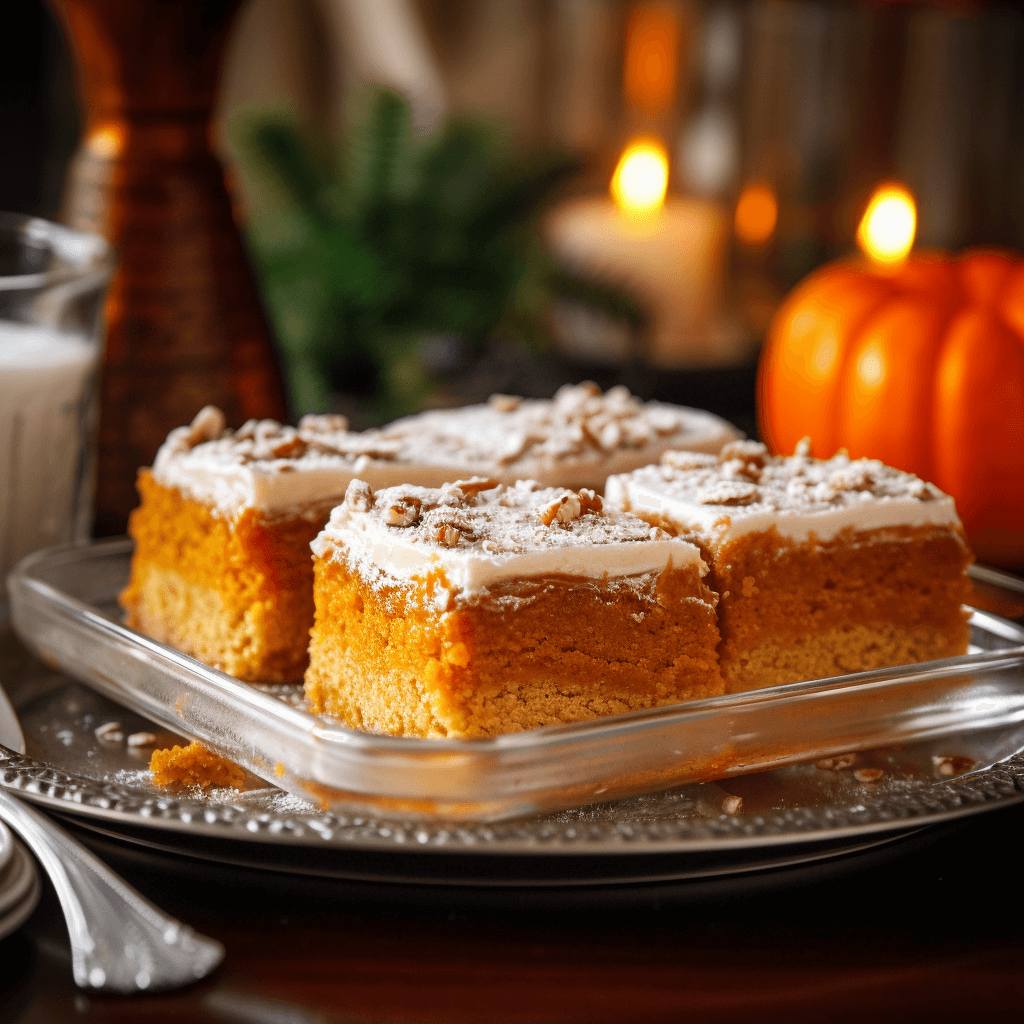
Janet’s Pumpkin Bars are a delicious and moist fall treat. They are perfect for potlucks, bake sales, or simply enjoying at home with a cup of coffee. The bars are topped with a rich and creamy cream cheese frosting, which takes them to the next level.
What Makes These Pumpkin Bars Special?
If you’ve ever felt that pumpkin pies are great but too cumbersome to serve at casual events, or that pumpkin cookies miss that depth of a classic pie, these bars are your golden middle. Imagine biting into a moist, flavorful bar that takes all the goodness of a pumpkin pie and wraps it up in an easy-to-share, easy-to-love package.
Are They Difficult to Make?
Absolutely not! These bars are surprisingly simple to make. Even if you consider yourself a baking newbie, you’ll find this step-by-step recipe foolproof. The most difficult part will be waiting for them to cool down before you can slather them with the irresistible cream cheese frosting!
Do They Keep Well?
You bet! These bars are great to make ahead and can be stored in the fridge for up to 3 days. But between us, they’re so delectable they probably won’t last that long.
Can I Customize Them?
For sure! Feel like adding chocolate chips, or perhaps some chopped nuts? Go ahead and make them your own. After all, cooking is an art, and you’re the artist.
Get ready to make your kitchen smell like an autumn wonderland and delight your taste buds with this foolproof recipe. Read on to discover how to create your own heavenly Pumpkin Bars with Dreamy Cream Cheese Frosting.
Prep Time: 20 minutes
Cook Time: 35 minutes
Total Time: 55 minutes
Ingredients:
- 2 cups granulated sugar
- 15 ounces of pumpkin puree
- 2 cups all-purpose flour
- 4 large eggs
- 1 cup vegetable oil
- 2 teaspoons pumpkin pie spice
- 2 teaspoons baking soda
- 1/2 teaspoon salt
For the frosting:
- 1/2 cup unsalted butter, softened
- 8 ounces cream cheese, softened
- 3 cups powdered sugar
- 1 teaspoon vanilla extract
Instructions:
- First off, preheat your oven to 350°F. Grab a 9×13-inch baking pan and give it a generous coating of oil and flour. The flour ensures your bars don’t stick, making it easier to serve these beauties later.
- In a large mixing bowl, swirl together your sugar and pumpkin puree. You’re aiming for a light and fluffy mixture that’s the base of your bars. It will help incorporate air, making your bars a dreamy, moist delight.
- Crack those eggs in one at a time, blending after each addition. Now pour in your vegetable oil. The oil gives your bars that tender crumb we all crave!
- In a separate bowl, sift together your flour, pumpkin pie spice, baking soda, and salt. The pumpkin pie spice is the soul of this recipe—delivering that unmistakable ‘fall in a bite’ flavor. Slowly mix this into your wet concoction until just combined. Don’t overmix; we don’t want to lose that tender texture.
- Pour your well-mixed batter into your prepared pan. Slide it into the oven and let it bake for 25-30 minutes. You’ll know it’s done when a toothpick or cake tester inserted into the middle comes out clean.
- While your bars are cooling, let’s work on that divine frosting. Whip together softened butter and cream cheese until it’s as smooth as silk. Gradually add the powdered sugar, followed by a splash of vanilla extract for that extra kiss of flavor. Blend until you’ve got a fluffy, dreamy frosting.
- Make sure your bars are completely cool before you slather on that heavenly frosting. Trust me, your patience will be rewarded.
Cooking tips:
- Homemade Puree: For an extra burst of authentic flavor, consider making your own pumpkin puree instead of using canned.
- Spice Mix: Don’t have pumpkin pie spice? Create your own blend using cinnamon, ginger, nutmeg, and cloves.
- Don’t Overmix: When combining the dry and wet ingredients, mix until just blended to keep the texture of your bars light and fluffy.
- Pan Prep: Don’t forget to oil and flour your 9×13-inch pan for easy removal of the bars.
- Cool Before Frosting: Allow your bars to cool completely before you add the cream cheese frosting; otherwise, the frosting will melt.
- Test for Doneness: Insert a toothpick into the center of the baked bars. If it comes out clean, they’re done!
- Advance Prep: These bars can be made ahead of time. Wrap them tightly in plastic wrap and refrigerate for up to 3 days before frosting.
- Personal Flair: Feel like adding a twist? Toss some chopped nuts or chocolate chips on top of the frosting for extra texture and flavor.