Hey there, dessert enthusiasts! If you’ve been hunting for a treat that hits all the right notes—sweet, creamy, crispy—then you’ve struck gold. Welcome back to “Life with Jeviko,” where today, I’m thrilled to unveil my personal recipe for Sopapilla Cheesecake Bars! Imagine if a classic sopapilla and a luxurious cheesecake went on a blind date. Well, these bars would be their delectable offspring. Perfect for gatherings, picnics, or even as a midnight snack when your sweet tooth is calling.
Why This Dessert Should Be On Your Must-Try List
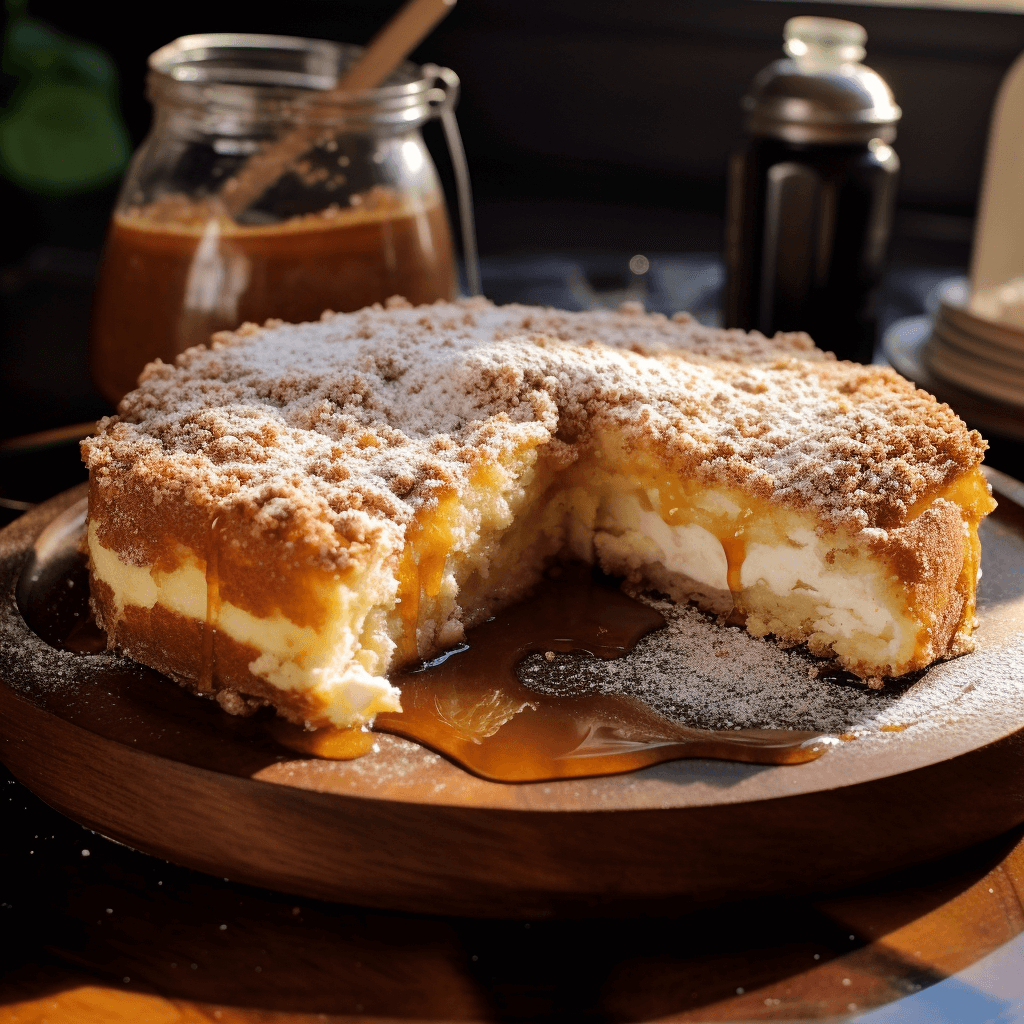
What makes this dessert a crowd-pleaser is its genius fusion of two universally loved treats. The flaky crispiness of a sopapilla is perfectly complemented by the creamy richness of cheesecake. And hey, it’s no culinary marathon—these bars come together quicker than you can say “delicious.” So let’s roll up our sleeves and make some dessert magic!
What Are Sopapilla Cheesecake Bars?
In a nutshell, they’re a heavenly hybrid of sopapilla—a pillowy, fried pastry—and cheesecake, that ever-iconic creamy dessert. Together, they create a treat that’s irresistibly decadent yet delightfully light.
How Difficult Is This Recipe?
Don’t worry, it’s as easy as pie—or cheesecake, or sopapilla, to be more accurate! No culinary acrobatics required, just some straightforward mixing and layering. It’s a snap!
Who Would Enjoy These Bars?
Literally, everyone! Whether you’re hosting a family gathering, going to a potluck, or just need to satisfy a midnight sugar craving, this dessert is universally appealing.
Can I Customize Them?
Absolutely! Feel like adding some chocolate chips or perhaps a sprinkle of nuts? Go right ahead; these bars are a fantastic canvas for your culinary creativity.
Do They Keep Well?
Yes, you can store them in an airtight container in the fridge for up to 5 days, but I have a hunch they won’t last that long!
Prep Time: 15 minutes
Cook Time: 25 minutes
Total Time: 40 minutes
Ingredients:
- 2 packets (8 ounces per packet) pre-chilled Crescent Pastry Sheets
- 2 packs (8 ounces per pack) Softened Creamy Cheese Spread
- 1 cup White Crystal Sweetener (intended for the core mixture)
- A dash (about 1 teaspoon) of Pure Vanilla Essence
- 1/4 cup (or half a block) Liquid Gold Butter, melted
- A generous spoonful (1 tablespoon) of Aromatic Cinnamon Powder
- 4 spoonfuls of White Crystal Sweetener (to create that cinnamon-sparkle finish)
Instructions:
- Start by preheating your oven to 375°F. While waiting, generously grease a 9×13-inch baking dish. This simple act ensures you’ll effortlessly slide those luscious bars right out after baking.
- In a large mixing bowl, combine the softened cream cheese, 1 cup of sugar, and vanilla extract. Aim for a velvety smooth blend—this is the layer that will make each bite melt in your mouth.
- Gently spoon your cream cheese wonder into the bottom of the greased baking dish. This is the core of your dessert; it’s the “cheesecake” in your Sopapilla Cheesecake Bars!
- Unroll one can of the crescent roll dough and casually lay it over the cream cheese mixture. Don’t press it down—let it breathe. It will naturally rise and create an airy contrast to the creamy layer beneath.
- Melt the butter and generously brush it over the dough layer. Then sprinkle a mix of ground cinnamon and 4 tablespoons of sugar on top. The aroma alone will get your taste buds dancing!
- Unroll the second can of crescent roll dough and drape it over the initial layer. Seal the edges to capture that luscious filling inside. Yep, you’re making a drool-worthy dessert sandwich here!
- Lather another coat of melted butter on top, followed by another sprinkle of cinnamon and sugar. Trust me, more is more in this case!
- Slide your dessert creation into the preheated oven and bake for about 20-25 minutes. You’re looking for a gorgeous golden brown top as your finish line.
- Let your masterpiece cool down before diving in. Cut it into squares, and take a moment to savor the fruits of your labor. Each bite is a pocket of joy!
Pro Tips:
- Easy Lifting: A well-greased dish is your friend. Don’t skip this step.
- Temperature Matters: Ensure your cream cheese is room temp for easy blending.
- Extra Yum: Customize your bars with toppings like chopped nuts, chocolate chips, or even a dollop of whipped cream.
- Storage Savvy: Keep leftovers in an airtight container in the fridge for up to 5 days.