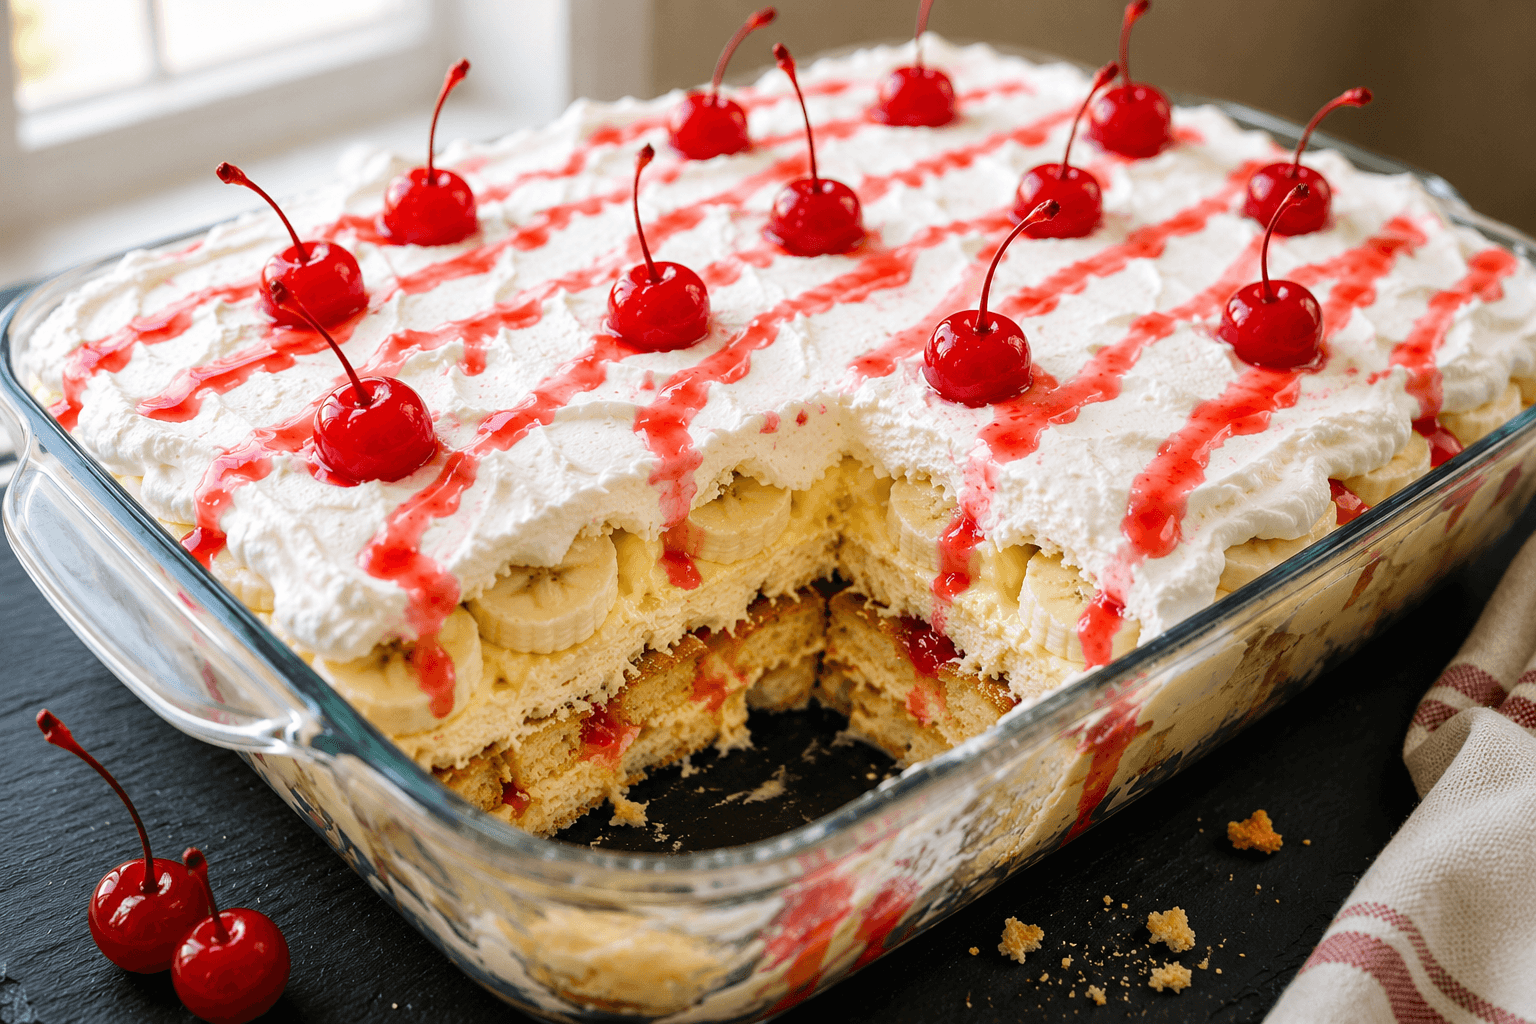
Hey there, your favorite corner of the internet. Do you ever find yourself yearning for a dessert that just screams comfort, warmth, and a hint of nostalgia? Well, you’re in luck today. Get ready to delve into a recipe that is a perfect union of creamy, fruity, and crunchy. We’re talking about Banana Pudding, my friends! 🌟
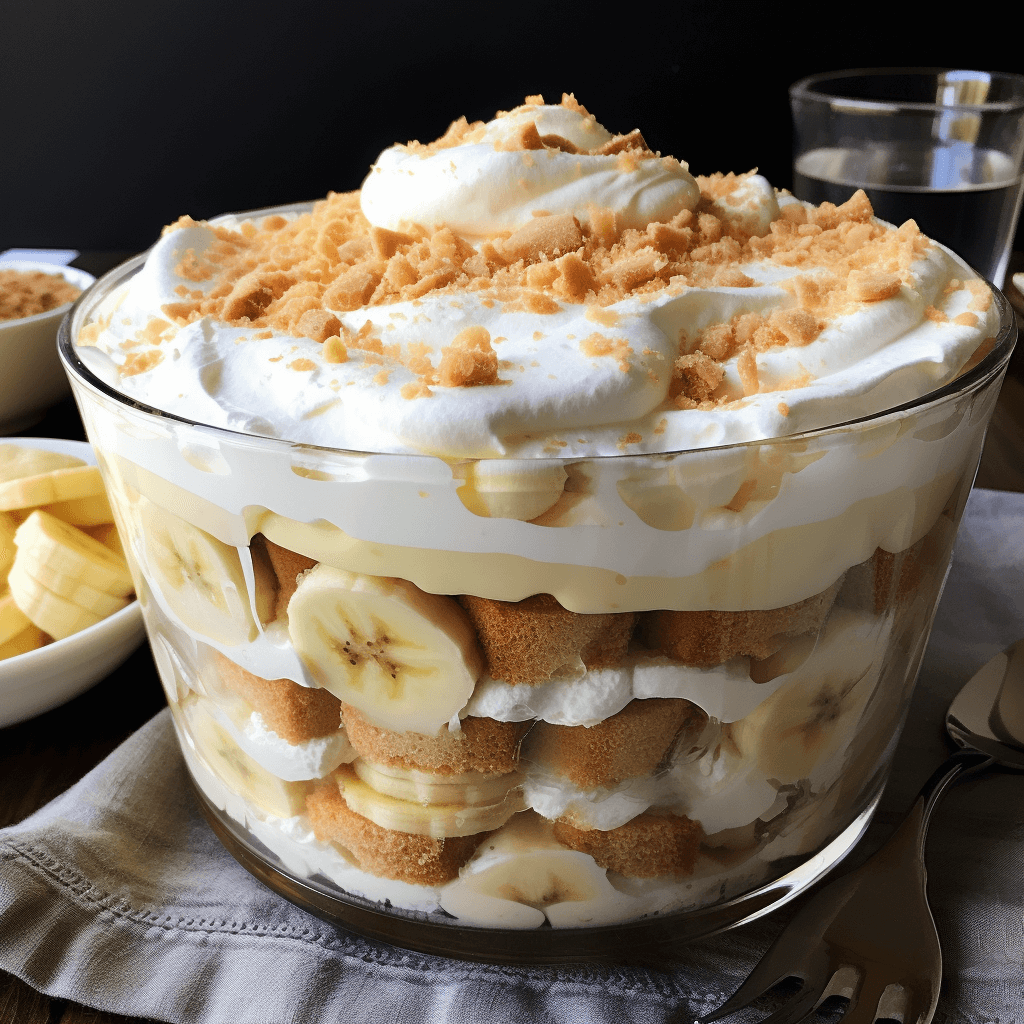
So, why should you try this dish? Imagine a luscious layer of silky-smooth pudding, cozying up with slices of fresh bananas and getting topped off with a layer of crunchy vanilla wafers. Each bite is a mini-vacation for your taste buds! Trust me; it’s the epitome of soul-satisfying desserts.
Can I make the pudding base a day ahead?
Absolutely! Making the pudding base a day ahead can even enhance the flavors. Just be sure to cover it well and store it in the fridge.
Is there an alternative for vanilla wafers?
If vanilla wafers aren’t your thing or you don’t have them on hand, you can use graham crackers or even shortbread cookies for a different yet delightful crunch.
What’s the best way to store leftover pudding?
If by some miracle you have leftovers, store them in an airtight container in the fridge. But remember, the bananas may brown over time.
Can I use frozen bananas?
Frozen bananas can become mushy once thawed, affecting the texture. Fresh bananas are the way to go for this recipe.
Can I make this recipe dairy-free?
Yes, you can! Substitute whole milk with a dairy-free alternative like almond or oat milk and use dairy-free butter. However, keep in mind that the texture and taste might vary slightly.
Prep Time: 20 minutes
Cook Time: 12 minutes
Total Time: 32 minutes + 3 hours chilling
Ingredients :
- 2/3 cup of granulated sugar
- 1/4 cup cornstarch
- 3 cups whole milk
- 4 large egg yolks
- 2 tablespoons unsalted butter
- 2 teaspoons pure vanilla extract
- 4 ripe bananas, sliced
- 1 pack (11 oz) vanilla wafers
Instructions :
Crafting the Creamy Pudding Base:
- Take a medium saucepan and whisk together your 2/3 cup of granulated sugar and 1/4 cup of cornstarch. This duo is the key to a pudding that’s just the right amount of sweet and perfectly thick.
- Time to add 3 cups of whole milk and 4 large egg yolks into the saucepan. Whisk until you have a harmonious blend. Those yolks are responsible for the pudding’s rich, golden hue and creamy texture.
- Set your saucepan over low heat. Steadily stir for about 10-12 minutes. Keep your eyes on the prize; when the mixture thickens enough to coat the back of a spoon, you’re golden. Patience is crucial to avoid lumps.
- Remove the pan from the heat. Swirl in 2 tablespoons of unsalted butter and 2 teaspoons of pure vanilla extract. This is what gives your pudding an extra layer of flavor and that “melt in your mouth” experience.
Assembling Your Layered Dessert:
- Take your 4 ripe bananas and slice them into even circles. Their natural sweetness is what makes this dish truly extraordinary.
- Select a serving dish and create a base layer of vanilla wafers from your 11 oz pack. These wafers are the crunchy counterpart to your creamy pudding.
- Now, gently place a layer of your freshly-sliced bananas over the wafers.
- Carefully ladle some of your homemade pudding on top of the banana layer. It’s like a creamy blanket that brings everything together.
- Continue alternating layers of wafers, bananas, and pudding until you run out of ingredients, making sure the topmost layer is a glorious spread of pudding.
- If you’re feeling fancy, garnish the top with a few more banana slices or even some crumbled wafers for extra flair.
- Place your masterpiece in the fridge for at least 3 hours. This allows all the elements to get to know each other, resulting in a dessert where every spoonful is a perfect blend of texture and flavor.
Cooking tips:
- Opt for bananas that are ripe but not overripe. A ripe banana is easier to slice and offers the best natural sweetness.
- Consistency is key to avoiding lumpy pudding. Use a whisk and keep that arm moving to ensure a silky texture.
- Slow cooking on a low flame allows the mixture tothicken naturally without burning. Patience is your friend here.
- Make sure the pudding base has cooled down a bit before layering. This helps to keep each layer distinct, offering a variety of textures in every bite.
- Try to make your layers as uniform as possible. Consistency in each layer ensures that every bite is a perfect blend of crunchy, creamy, and fruity.
- If you’re lactose intolerant, almond or oat milk are good substitutes. Just note that the texture and taste may vary slightly.
- Unsalted, high-quality butter is the best choice for achieving that velvety smoothness. Trust me, you’ll taste the difference.
- Don’t rush the chilling process. Those hours in the fridge let the flavors meld and the texture set, making it worth the wait.
- If you end up with leftovers (though I doubt it!), store your pudding in an airtight container to maintain freshness.