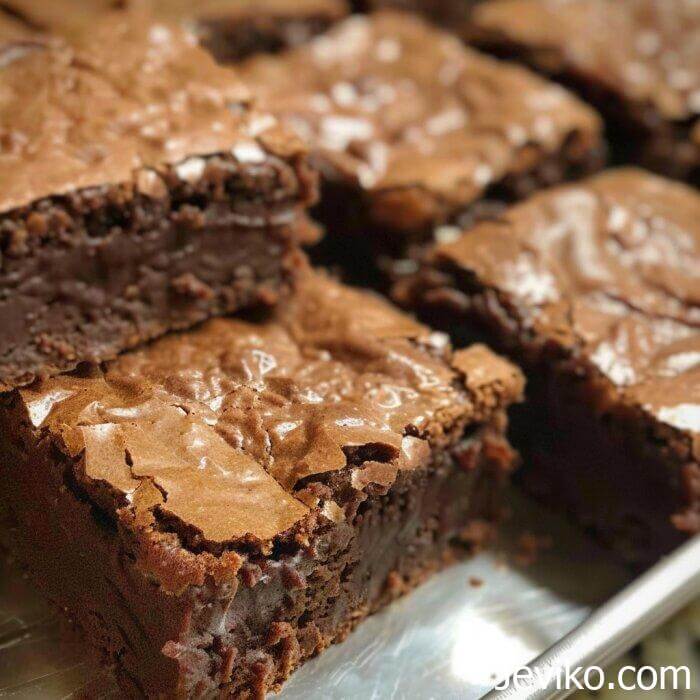
Hi friends! I’m so delighted to be sharing my grandma’s cherished lunchroom brownies recipe today on my blog Life with Jeviko. This fudgy, old-fashioned brownie was a staple dessert when my grandma worked as a lunch lady in the school cafeteria over 50 years ago. Generations of kids have grown up enjoying this chocolatey baked treat.
As I watched my grandma make these over the years, I asked her to share the secrets behind what makes her brownies so delectable. Here’s what she told me:
Why is melted butter so key for brownies?
Melting the butter allows it to blend into the brownie batter smoothly for even distribution of rich buttery flavor in every bite. If you use room temperature butter which contains bits of moisture, it does not incorporate as seamlessly and can make brownies turn out cakier rather than fudgy.
The melted butter also coats the other ingredients like flour to prevent gluten formation for a nice tender texture.
What does the baking soda do?
The baking soda is a chemical leavener that reacts with other ingredients in the brownies to produce carbon dioxide bubbles. This gives the brownies a lighter, fluffier crumb, rather than dense and heavy. Without baking soda, brownies would be extremely dense.
How do you know when they’re done baking?
Properly baked brownies will still look a bit underbaked, moist and jiggly in the centers when you take them out of the oven.
The carryover cooking that happens as they cool down sets them to that ideal fudgy texture. If you overbake until the centers look totally set, they will end up dry instead of fudgy.
Why let them cool completely before cutting?
Cutting warm brownies causes them to fall apart and crumble. Letting them cool allows the starches to set up so you can cut neat squares or rectangles that hold their shape. The cooling also finishes carrying over the baking process for fudgy centers.
I know you’ll love these timeless brownies as much as I do. Now let’s get baking!
Prep Time: 10 minutes
Cook Time: 23-25 minutes
Total Time: 35-40 minutes
Ingredients
- 1 cup (225g) unsalted butter, melted
- 1⁄2 cup (43g) unsweetened cocoa powder
- 2 cups (255g) all-purpose flour
- 2 cups (400g) granulated white sugar
- 1 teaspoon baking soda
- 1⁄4 teaspoon salt
- 4 large eggs
- 4 teaspoons vanilla extract
- 1 cup (113g) chopped pecans or walnuts (optional)
Instructions
- Preheat oven to 350°F (175°C). Line a 9×13-inch baking pan with parchment paper, leaving overhang on all sides.
- Whisk together melted butter and cocoa powder until smooth. Add flour, sugar, baking soda and salt. Mix well.
- Beat in eggs one at a time, mixing well after each addition. Stir in vanilla.
- Fold in nuts if using. Spread batter evenly into prepared pan.
- Bake 23-25 minutes until centers look just set. Cool completely in pan on a wire rack before cutting into squares.
Cooking tips:
- Use good quality cocoa powder – Not all cocoa powder is created equal. Splurge on high quality Dutch processed cocoa for intense chocolate flavor.
- Melt the butter properly – Melting completely without browning is key. Melted butter blends into batter smoothly for rich flavor in every bite.
- Don’t overmix – Mix just until blended to prevent overworking the gluten. This gives fudgy, tender brownies. Overbeating makes them cakey.
- Check early – These brownies look underbaked when perfectly done. Check at 20 minutes and rely on visual cues, not just time.
- Cool completely before cutting – Letting brownies cool allows them to further set up for neat slices that hold shape nicely.
- Enjoy leftovers – Store in an airtight container at room temperature up to 1 week. Freeze for up to 3 months.