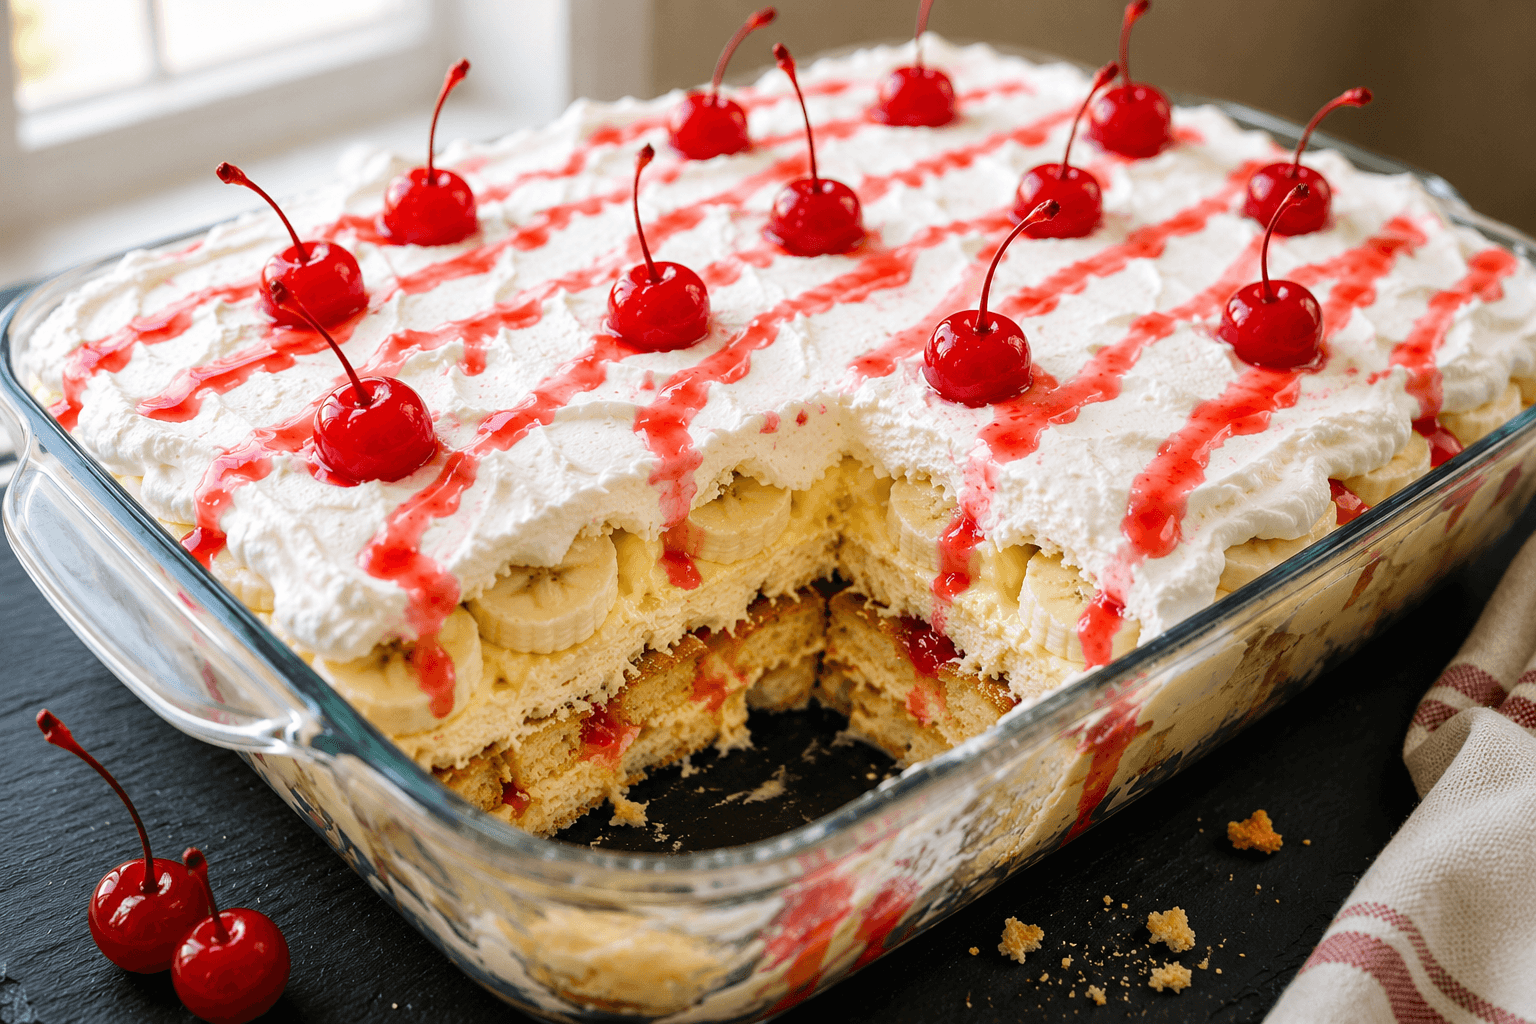
Hello again my lovers ! I’m absolutely thrilled to share with you a recipe that holds a special place in my heart. Ever baked something that shifted and danced in the oven, creating the most beautiful chaos? This Earthquake Cake will do just that and more! 🌍💃
Remember those days when life surprised you with unexpected moments? This cake encapsulates that feeling in the form of a dessert! Let me show you how you can create a delectable ‘earthquake’ in your kitchen.Why You’ll Fall in Love with Earthquake Cake
Imagine biting into a slice that offers the sweetness of coconut, the crunch of pecans, and the creamy goodness of a rich cream cheese swirl. The various layers move and settle in unique patterns as the cake bakes, hence the fun name!
Why is it called an Earthquake Cake?
As it bakes, the layers shuffle and dance, settling in unpredictable ways, much like the aftereffects of an earthquake!
How do I store leftover Earthquake Cake?
Wrap it tightly in plastic wrap or place it in an airtight container. It will stay fresh at room temperature for 2 days, or you can refrigerate it for up to a week. If you opt for the fridge, let each slice come to room temperature for a bit before indulging for the best flavor experience!
I’m not a fan of coconut. Can I skip it or replace it?
Of course! While the coconut adds a unique texture and taste, if it’s not your cup of tea, you can simply omit it. Alternatively, you can replace it with a layer of crushed graham crackers or even oats for a different crunchy twist!
Is there a way to make this cake a bit healthier?
You can experiment by using a reduced-fat cream cheese and substituting applesauce for the oil in the cake mix. However, remember it’s a treat, and sometimes it’s okay to indulge a little!
Prep Time: 20 minutes
Cook Time: 35-45 minutes
Total Time: 55-65 minutes
Ingredients:
- 1 cup of shredded coconut (picture a snowy mountain – that’s how much you need!)
- 1/2 cup of hand-chopped pecans (for that rustic touch)
- 1 box (approximately 15.25 oz) of German chocolate cake mix (plus the accompanying oil, eggs, and water as per the box)
- 8 oz of velvety soft cream cheese
- 1/2 cup of melted unsalted butter (the golden magic)
- 4 cups of snowy powdered sugar
- A splash of vanilla extract (1 tsp, to be precise)
- Feeling indulgent? Throw in a cup of chocolate chips!
Instructions:
- Kick start your oven’s warmth by preheating it to 350°F.
- Remember that sense of wonder looking at freshly fallen snow? Capture that by greasing a 9×13-inch baking dish and laying down your ‘snow’ – the shredded coconut. Add in the rustic pecan bits evenly.
- Using your favorite mixing bowl, whip up the German chocolate cake mix as directed on its package. Gently pour this over your ‘snowy’ foundation.
- In a different bowl, let’s create a creamy dream. Whisk the soft cream cheese, melted butter, powdered sugar, and vanilla extract. Aim for a velvety finish. If it feels too thick, imagine a thin stream of milk merging into it.
- Drop dollops of the cream cheese dream onto your cake batter. If you’ve opted for the chocolate chips, let them rain down now!
- With the heart of an artist, take a knife and delicately swirl the cream cheese through the cake batter. It’s your canvas, create your marbled masterpiece!
- Slide the dish into your preheated oven. Let it dance for 35-45 minutes. A heads up: due to our creamy layers, the toothpick test might be deceptive. But trust the golden edges and set center.
- Breathe in the aroma, and once out of the oven, let it cool. Slice it up either warm or once it reaches room temperature.
Cooking tips:
- When using ingredients like eggs and cream cheese, allowing them to come to room temperature helps in achieving a smoother mix. Cold ingredients don’t blend as easily.
- If you decide to add chocolate chips, opt for high-quality ones. They melt better and add a richer flavor.
- Make sure to grease your baking dish well. This ensures that your cake doesn’t stick and comes out easily after baking.
- Place your baking dish in the center of the oven. This ensures even heat distribution for consistent baking.
- If you bake frequently, consider calibrating your oven once in a while. Sometimes, the temperature displayed might not be the actual temperature inside.
- With creamy cakes like the Earthquake Cake, the edges will give you a hint about its doneness. They should be lightly browned and slightly pulling away from the sides of the pan.
- Let the cake cool in the baking dish itself. Rushing the cooling process by transferring it to another dish might break it.
- Serve the Earthquake Cake with a dollop of whipped cream or a scoop of vanilla ice cream for added indulgence.
- If by chance you have leftovers (which would be surprising given how delicious this cake is!), store in an airtight container to maintain freshness.
- Feel free to add your favorite ingredients like dried fruits or different nuts to give the Earthquake Cake your personal touch.
- When adding powdered sugar or cake mix, consider sifting it. This prevents lumps and ensures a smoother texture.
- When swirling the cream cheese mixture through the batter, clean the knife or skewer after every couple of swirls to get distinct, beautiful patterns.