Join me on this tasty adventure as we bake up a little slice of dessert heaven! Well, as an experienced cheesecake creator, let me explain why this recipe yields the ultimate cheesecake delight.
What makes this cheesecake so delectable and crave-worthy? It all comes down to the perfect formula – from the careful choreography of flavors, the luxurious textures, the patience required in the process, and the joy it brings from the first crumbly bite to the final velvety forkful.
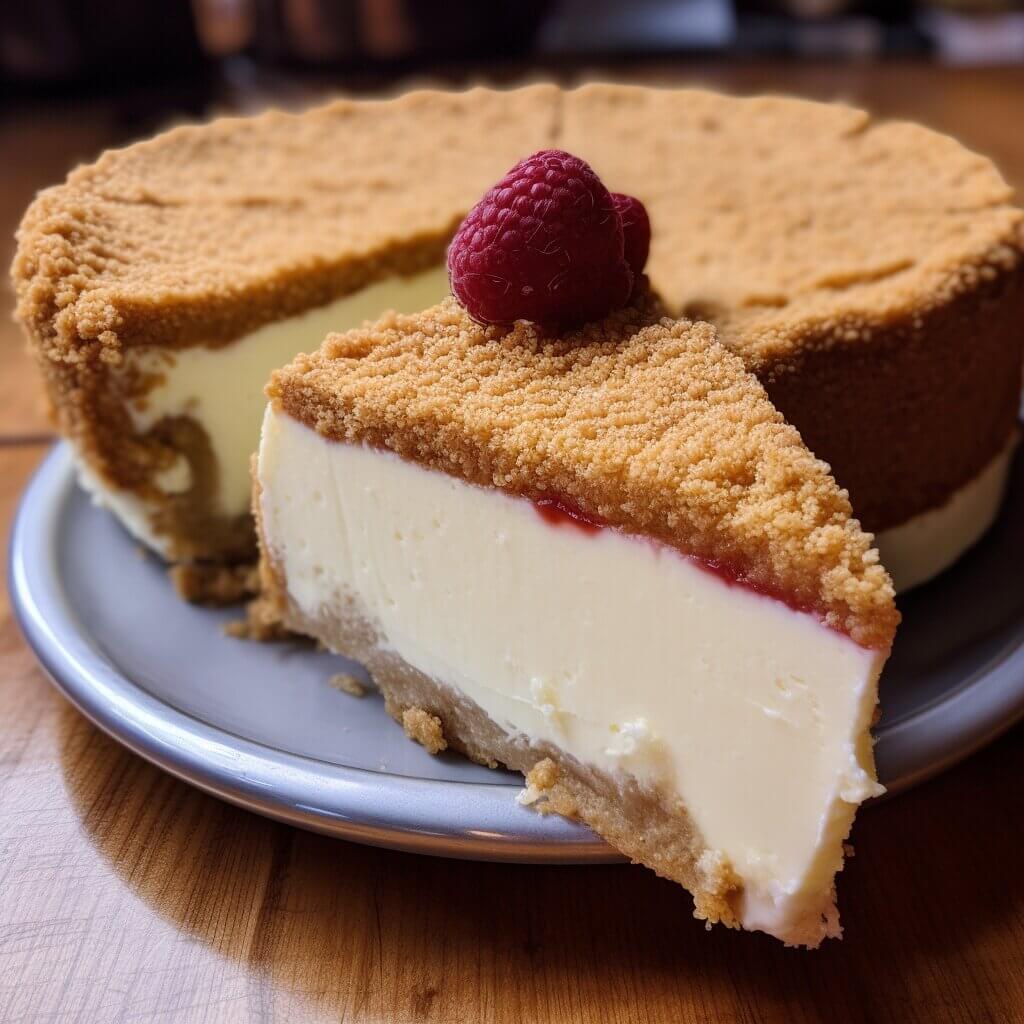
This cheesecake is a true labor of love and Balance – lovingly handcrafted with attention to even the smallest details. There’s a delicious flavor Balance between the cinnamon kisses of graham crunch below and bright lemon tang immersed in rich, vanilla creaminess above. Too much sweetness overwhelms; too much tartness shocks. But my recipe strikes that ideal chord of tastes and aromas.
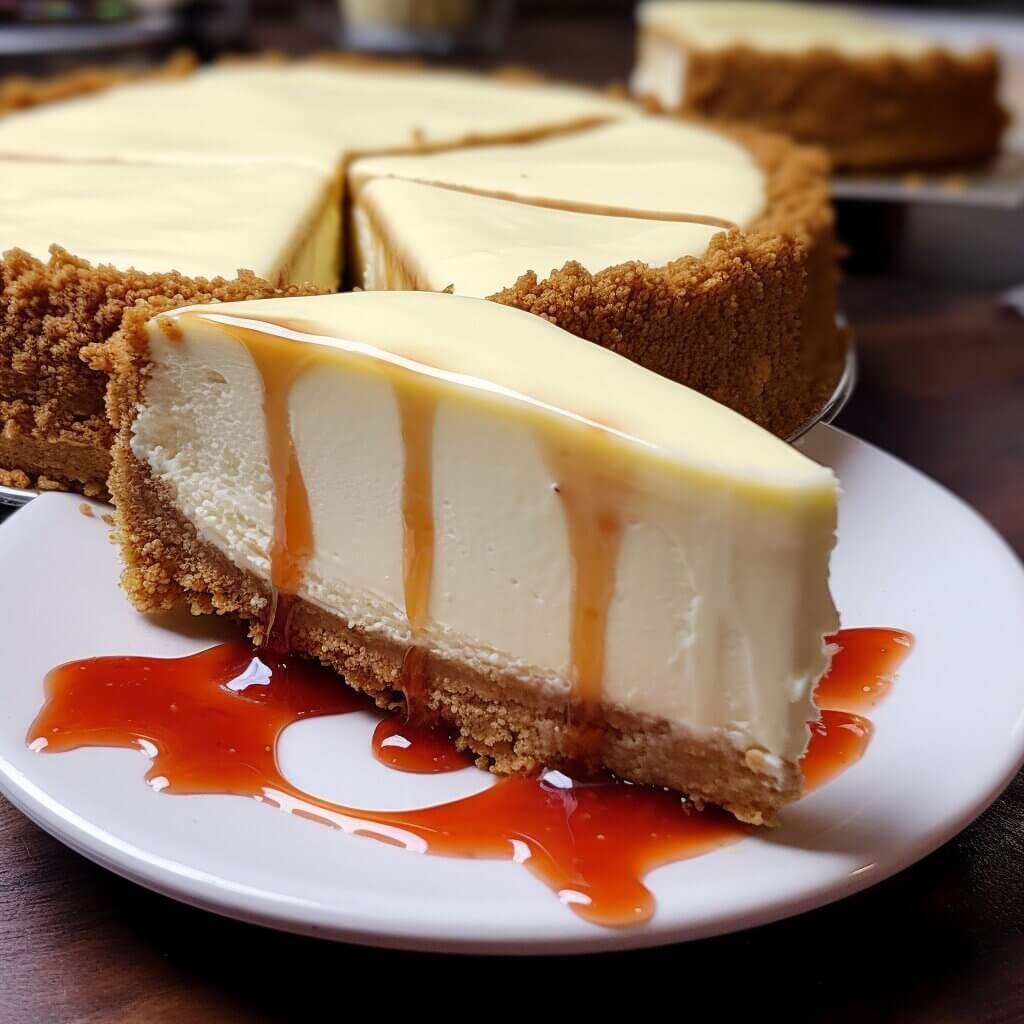
The textures also dance together brilliantly – The shattering crust meets the featherlight fluff of filling in the most gratifying way. Too dry and the cake crumbles to sand; too moist and slices lose integrity. Through low and slow baking, meticulous cooling, and ample chill time, everything firms to perfection.
Equally vital is the patience required – too rushed and structural issues arise. Cracks split the surface, soggy spots weep moisture. But proper TLC from start to finish yields a beautifully cohesive cheesecake with neat slices that make you swoon at first bite. No shortcuts allowed!
Most important though is the happiness this cheesecake delivers. A labor of devotion that comforts. From ingredient prep to final fork-in-the-mouth euphoria, let this recipe wrap you in a warm hug of sugary satisfaction that makes troubles fade. Now THAT is why this cheesecake blesses all who bake it!
Why double crust it?
The double crust amplifies the texture contrast, adding delightful crunch to balance the silkiness within.
What’s the cheesecake made of?
Just four simple ingredients – cream cheese, sugar, eggs, and vanilla. Oh, and lots of love!
Can I use reduced fat cream cheese?
I don’t recommend it – the full fat version ensures the ideal creamy richness.
What’s the difference between graham cracker and plain cracker crumbs?
Graham cracker crumbs add warmer spice notes that perfectly complement the tangy cream cheese.
How should I slice it?
Use a sharp, thin-bladed knife, wiping it clean between slices to get neat, picture-perfect cuts.
When should I make this crowd-pleasing dessert?
Anytime you want to impress guests or simply treat yourself! It’s perfect for gatherings, holidays, or weekends.
Prep Time: 40 minutes
Cook Time: 1 hour
Total Time: 5 hours
Ingredients:
- For the crust:
- 14 ounces (400g) graham cracker crumbs (about 28 full graham cracker sheets)
- 7 tablespoons (100g) melted unsalted butter
- 1/3 cup (65g) granulated white sugar
- For the cheesecake filling:
- Four 8-ounce (225g) packs full fat cream cheese, room temperature
- 1 1⁄4 cups (250g) granulated white sugar
- 1 tablespoon (8g) cornstarch
- 1 tablespoon (15mL) fresh lemon juice
- 1 teaspoon (5mL) vanilla extract
- 4 large whole eggs, room temperature
Instructions:
- Let’s unravel the secrets to creating the ultimate cheesecake pleasure, my friends! This is a bake crafted carefully from crust through to creamy center – no rushing allowed. Patience grants the perfect textures.
- First comes constructing a foundation of shatteringly crisp graham cracker crust:
- Crank the oven to 325°F to warm while preparing the pan. The springform style makes serving a cinch after chilling. Mist the sides and base with baking spray so the crust releases like a dream later.
- For the crust itself, dump graham crackers into a food processor and pulse into fine, sandy crumbs. No stray big pieces! Transfer crumbs to a bowl, melt some butter, and pour it over the top. Toss to distribute evenly throughout. Mix in the sugar too for a hint of sweetness.
- Press handfuls of buttery crumbs firmly into the pan, using the bottom of a measuring cup or flat glass to really pack it down. Build the sides up 1-inch too. This creates ample surface area to support our creamy filling!
- Bake the crust for 8 minutes until tantalizing aromas of toasty cinnamon and molasses fill your kitchen. Yum! Let it cool while we construct the velevty interior.
- Now, on to the smooth and luscious filling a la cream cheese:
- Allow cream cheese to come to room temperature so it blends easier. In a stand mixer on medium speed, beat the blocks of cheese for 2 full minutes until oh-so-smooth and creamy. No lingering lumps!
- Maintaining the mixer’s gentle action, slowly sprinkle the sugar and sprinkle the cornstarch over top. Then drizzle in lemon juice and vanilla. Continue creaming for 3 minutes more. Stop to scrape down the sides with a flexible spatula, ensuring everything incorporates beautifully.
- On low speed now, gently add the eggs one at a time. Let each fully blend before adding the next. This slow infusion prevents curdling. Continue mixing just until combined, no longer.
- Time for assembly! Pour the dreamy cream cheese mixture into the graham cracker crust. Use an offset spatula to smooth the top neatly.
- Bake the cheesecake for 55-65 minutes. The edges should look set but the center still jiggle slightly – this prevents cracking. Cool completely before chilling overnight.
- Finally, use a hot, thin knife to slice and serve this splendid cake! I hope your friends and family savor every sweet, smooth bite as much as I do. Enjoy!
Cooking tips:
- Invest in quality. High-fat cream cheese, real vanilla extract, and seamless pans give you a leg up from the start.
- Room temperature ingredients are a must! Cold cream cheese refuses to blend easily or emulsify properly with eggs. Let it sit out to warm up an hour before mixing.
- Mix, don’t beat! Vigorous whipping incorporates too much air leading to cracks as cheesecake bakes down. Thoroughly combine just until mixed.
- Double wrap the outside of your springform pan in foil to prevent leaks during water bath baking, Creating a moist environment that prevents the cheesecake top from drying or cracking.
- Cool slowly! Cheesecake needs to come down in temperature gradually to set properly without separating or forming large tunnels and crevices. Resist temptation to rush the cooling stage.
- Rest overnight before slicing! This allows the entire cheesecake to finish solidifying into that craveable smooth consistency. Patience pays off in forkfuls of bliss! A night in the fridge lets flavors meld even more.