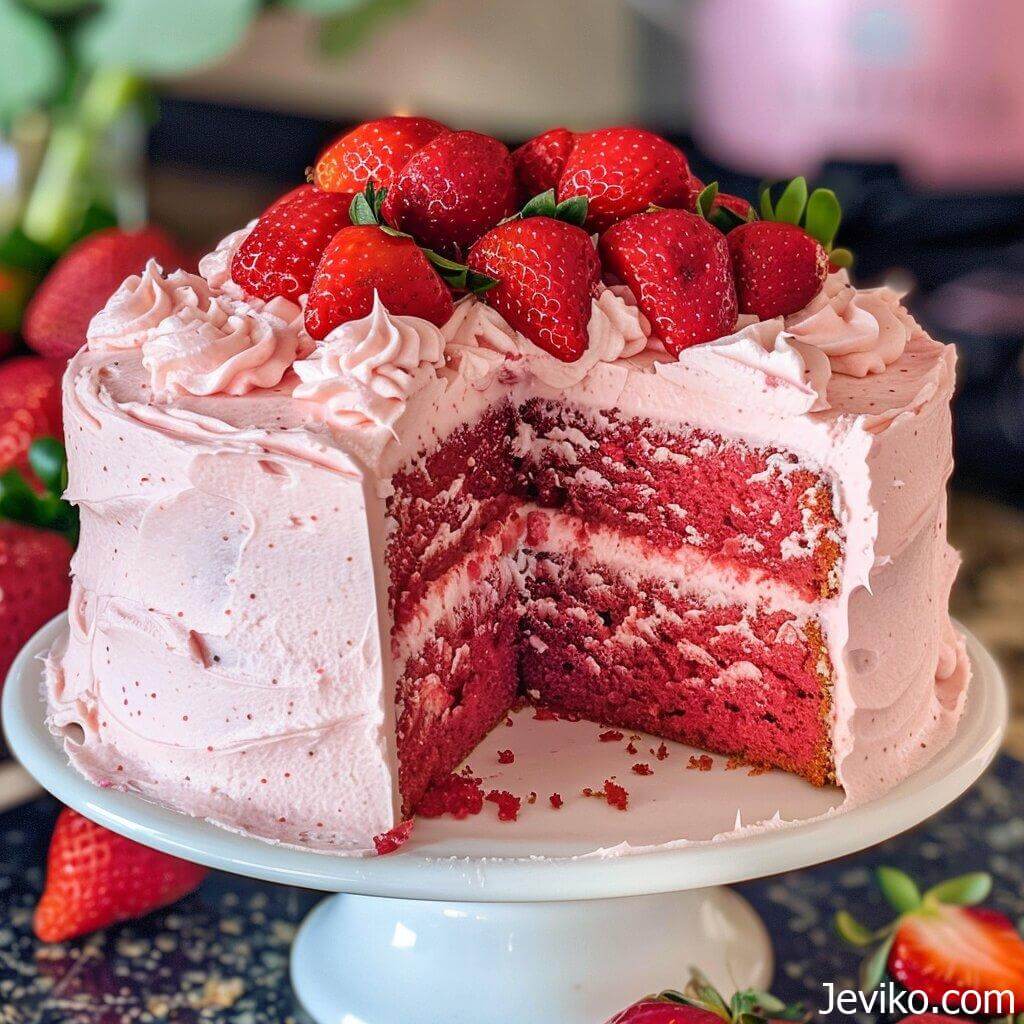
Attention all you lovely baking buttercups out there! Are your tastebuds craving a little slice of fruity heaven? Well flutter on over and gather ’round, because I, Jeviko the Sugarplum Sweetheart, am over the moon excited to present a blushing pink strawberry-swirled icebox cake that’s sure to tickle even the pickiest of palates! This no-bake beauty is a cinch to whip together and the results look like you spent hours upon hours crafting color-coordinated culinary perfection. But our scrumptious secret is that it’s actually a spectacularly simple dessert made for the time-crunched among us who still yearn for ornate edible masterpieces.
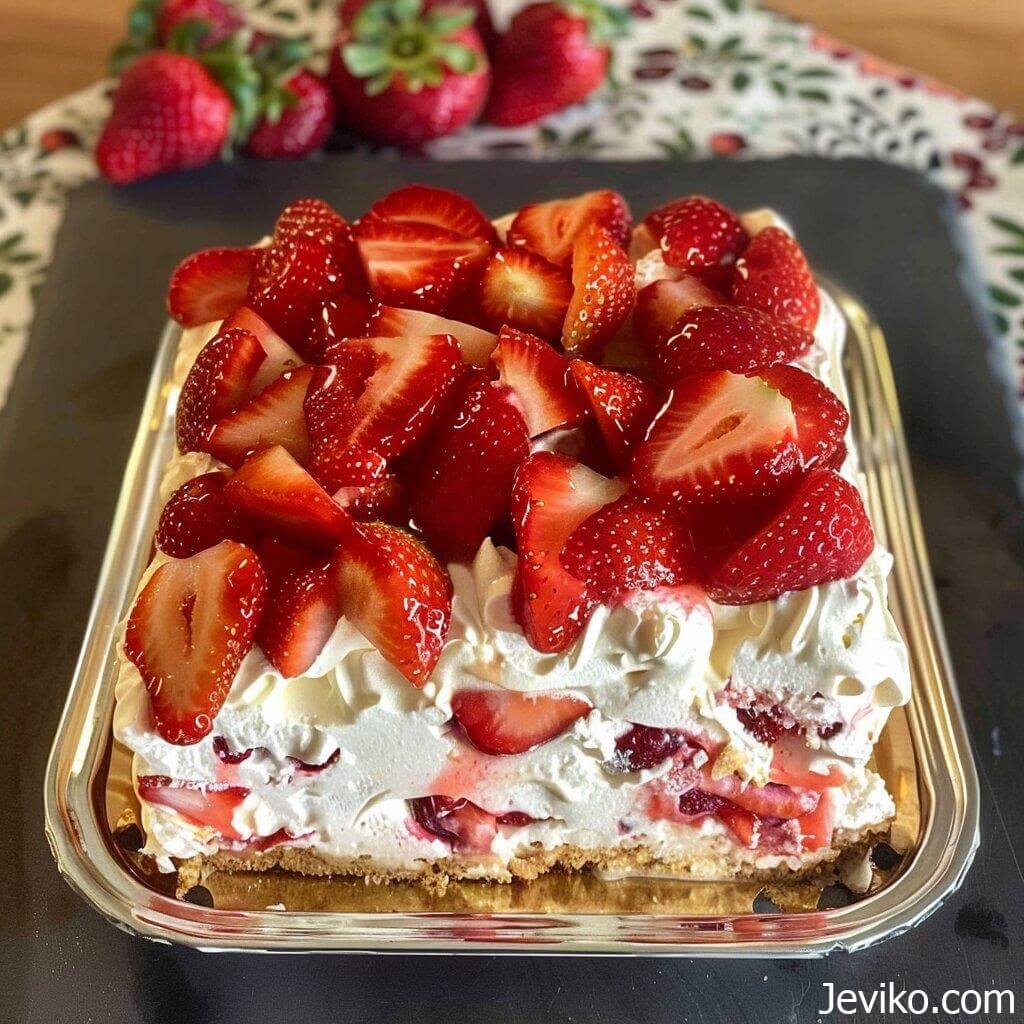
We begin with a foundation of crisp vanilla wafers or spicy gingersnaps, layered in our pan like stepping stones across a strawberry patch. These become our cake bases, embracing fluffy mousses and fresh berry juices that seep deliciously into our cookie crumb construction. Then comes silky sweet cream cheese, whipped into billowing clouds of pink-tinted frosting that we slather between the berry and cookie levels. Are you envisioning the ombre pink stripes formed by our ingredients? So very chic! Top all this with an enchanting ruby glaze of strawberry reduction and voila – our summertime cake vision materializes like magic but without a single moment spent over a hot oven!
All that’s left is allowing our stratified sweets to mingle in the icebox so cookie embeds berry embeds cheese in a transcendent melding of flavors and textures. Oh I can already taste the cold creamy mouthfuls studded with bursts of jammy fruit! Two hours minimum chill time dear ones, preferably overnight if you can stand the anticipation! Then onto serving our swirly strawberry cake confection to rave reviews from all our loved ones! Join me on this flavor adventure wont you? I’ll hold your hand every scrumptious step of the way!
Before we dive in, here are some common questions about icebox cakes:
What is an icebox cake?
An icebox cake is a chilled no-bake dessert made by layering a creamy sweet filling between crispy cookies, cake layers, or graham crackers. The name comes from the olden days when people would store the layered dessert in their “iceboxes” before refrigerators were common. As it chills, the layers soften and meld together into a sliceable cake with rich sweet creaminess contrasted by the crunch of the crisp cookies or other layers. Icebox cakes are easy to throw together and look so elegant, but require no baking at all!
What kind of cookies do you use?
The most popular cookie bases for icebox cakes are vanilla wafers and gingersnaps. The crisp, dry consistency of these cookies allows them to hold their shape and texture while absorbing the moisture from the filling. Other great options are graham crackers, chocolate wafer cookies, shortbread cookies, or spice cookies like snickerdoodles. I love to use ginger snaps for their spicy bite which complements sweet fillings like vanilla, chocolate, caramel or fruit purees. Vanilla wafers work well for lighter flavors like sweetened whipped cream or cheesecake mixtures. Feel free to get creative with cookie flavors in your icebox cake!
How long do you chill it?
Most icebox cake recipes recommend chilling for at least 2 hours before serving, but chilling overnight or up to 24 hours achieves the best texture. When chilled longer, the crisp cookie layers soften just slightly around the edges, absorbing moisture and flavor from the rich filling. The filling also sets up more firmly the longer it chills, making clean slicing easier once you portion out servings. For convenience, I love assembling my icebox cake a day ahead so it’s party-ready when needed!
Can I customize flavors?
Absolutely! One of the best things about icebox cakes is how versatile they are for creating customized flavors. Swap out the filling layer with chocolate ganache, peanut butter mousse, lemon curd, or fruit purees like raspberry, mango, or strawberry instead of traditional whipped cream. You can also mix and match different cookie flavors like chocolate, red velvet or snickerdoodle with complementing fillings. The flavor combos are endless!
What do you serve icebox cakes with?
Simple additions like dusting with powdered sugar or cocoa powder are perfect for allowing the main flavors to shine. Or go bold by serving slices with freshly whipped cream, fruit sauces, or even ice cream for a delicious icebox cake sundae hybrid! You could also toast nuts or coconut to sprinkle on as a crunchy topping. Just have fun playing with textures and flavors to complement your customized icebox cake creation!
Now let’s get to baking, lovelies! For this gorgeous blushing pink creation, you’ll need:
Prep Time: 10 mins
Cook Time: None! It’s no-bake!
Total Time: 2 hours 10 minutes (mostly chilling!)
Ingredients:
- 1 and 1/2 cups heavy whipping cream
- 8 ounces cream cheese, softened
- 1/3 cup white granulated sugar
- 1 teaspoon pure vanilla extract
- 24 ladyfingers or crisp cookies like ginger snaps
- 16 ounces fresh strawberries, diced
- Pink gel food coloring (optional)
Instructions:
- Start by whipping the heavy cream – Pour heavy cream into a large mixing bowl and use a hand mixer or stand mixer fitted with a whisk to whip to stiff peaks, 3-5 minutes. Set whipped cream aside.
- Make the cream cheese layer – In another bowl, beat together cream cheese, sugar, and vanilla extract until smooth and creamy, about 2 minutes.
- Add whipped cream – Gently fold 1/3 of the whipped cream into the cream cheese mixture to lighten it.
- Line pan – Grab a 7×11″ baking pan (or similarly sized dish). Line the bottom with a layer of cookies or ladyfingers.
- Add cream cheese layer – Spread half the cream cheese mixture evenly over the cookie layer.
- Layer with strawberries – Top cream cheese layer with half the diced strawberries. If desired, add a drop or two of pink gel food coloring to strawberries for a vibrant color.
- Repeat layers – Top strawberries with another layer of cookies/ladyfingers. Spread remaining cream cheese mixture evenly on top, followed by remaining strawberries.
- Top with cookies – Finish with a final layer of cookies/ladyfingers, pressing gently to adhere.
- Chill – Cover pan tightly and refrigerate at least 2 hours, or up to overnight.
- Slice and serve – Remove pan from fridge, slice cake into squares, and enjoy this beautiful summertime treat! Garnish slices with a dusting of powdered sugar or dollop of whipped cream if desired.
Cooking Tips:
- Allow cream cheese to come to room temp before mixing for ultimate smoothness.
- Use high-quality cookies that won’t get soggy as they chill. Gingersnaps and vanilla wafers work great.
- Make it your own with different cookie flavors, fruits, extracts, chocolate – anything goes!
- Refrigerate leftovers (if there are any!) covered for 3-4 days.
- For easy slicing, wipe knife blade clean between cuts.