
Oh, do I have a heavenly little treat for you today.
This Soft Vanilla Milk Bread was born out of a cozy Sunday afternoon at home—one of those lazy, no-plans kind of days where the house is quiet, the coffee is hot, and the craving for something soft, warm, and fresh-from-the-oven just sneaks up on you. You know what I’m talking about, right? That feeling when you want something homemade, but you’re not entirely sure what until suddenly—bam—your mind whispers milk bread.
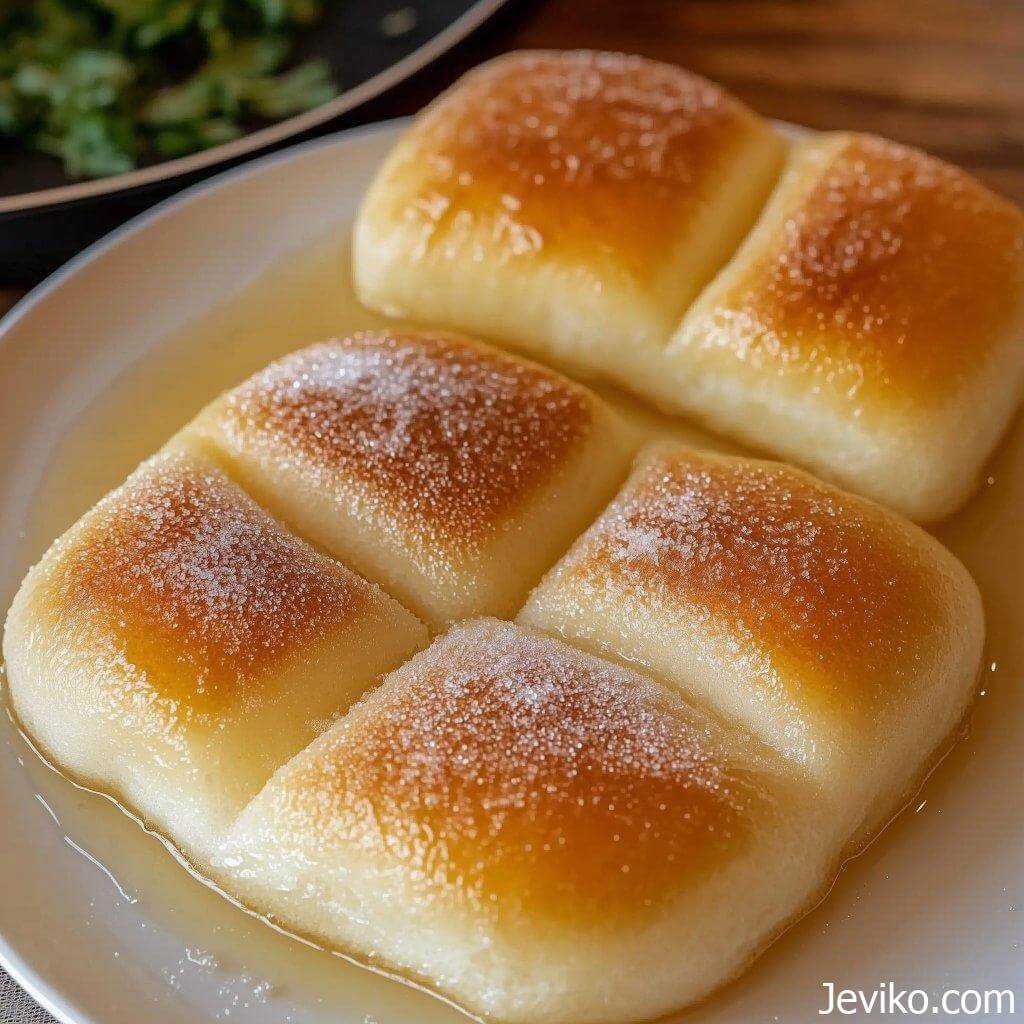
Now, I’ve made my fair share of breads over the years, but THIS one? Oh my goodness. It’s like the cloud-soft cousin of brioche, with the tenderest crumb, a whisper of vanilla, and the most pillowy texture that practically melts in your mouth. It smells like a bakery in Paris and hugs you like grandma’s kitchen.
This isn’t just a loaf of bread—it’s comfort, it’s nostalgia, it’s pure vanilla bliss in every bite.
Why You’ll Fall in Love With This Vanilla Milk Bread:
- Incredibly Soft Texture: Think of the fluffiest dinner rolls you’ve ever had… now multiply that softness by ten.
- Hint of Sweet Vanilla: It’s not overpowering—just a gentle vanilla note that makes it perfect for both sweet and savory pairings.
- Versatile: Toast it, sandwich it, or just eat it warm with a smear of butter. No wrong way to enjoy it.
- Make-Ahead Friendly: It holds up beautifully for days and is even better slightly toasted the next morning.
Can I use almond or oat milk instead of whole milk?
- Yes! The flavor and texture will be slightly different, but still very tasty. Just make sure it’s warm (not cold from the fridge!).
I only have active dry yeast. Can I still make this?
- Absolutely. Just dissolve the yeast in the warm milk with a pinch of sugar and let it sit for 5–10 minutes until foamy before adding to the flour.
Why is my dough so sticky?
- Milk bread dough is supposed to be soft and slightly tacky. If it’s too sticky to handle, add just a bit more flour (a tablespoon at a time), but don’t overdo it or your bread won’t be as soft.
Ingredients :
Here’s what you’ll want to gather before we get started. Nothing too fancy, just humble ingredients coming together in a magical way:
- 2 ¾ cups bread flour
- ¼ cup granulated sugar
- 1 ½ teaspoons instant yeast
- ½ teaspoon salt
- ¾ cup warm whole milk
- 1 large egg
- 2 tablespoons unsalted butter, softened – Adds richness and a silky texture.
- 1 teaspoon pure vanilla extract – Or go wild and use vanilla bean paste for extra flavor flecks!
- Optional: 1 tablespoon milk + ½ tablespoon honey for brushing the top before baking – This gives the crust a light, shiny glow and touch of sweetness.
Instructions:
Step 1: Mix the Dry Stuff
In a large mixing bowl (or stand mixer if you have one), whisk together the bread flour, sugar, salt, and yeast. Keep the yeast and salt on opposite sides of the bowl before mixing—yeast can be a little sensitive!
Step 2: Add the Wet Ingredients
Pour in your warm milk, egg, butter, and vanilla. Start mixing slowly until a shaggy dough forms.
Step 3: Knead Until Smooth
Knead for about 10–12 minutes by hand or 8 minutes with the dough hook on medium-low speed. The dough should be smooth, elastic, and just a tad tacky—not sticky. If it’s too sticky, add a tablespoon of flour. Too dry? A splash of milk.
Step 4: Let It Rise
Shape the dough into a ball and place it in a lightly greased bowl. Cover with plastic wrap or a clean kitchen towel. Let it rise in a warm spot for 1 to 1½ hours, or until doubled in size. (I sometimes pop mine in the microwave with the light on—just don’t turn it on!)
Step 5: Shape the Loaf
Once it’s risen, punch it down gently (the most satisfying part!) and divide into 3 or 4 equal portions. Roll each into a smooth ball, then shape into mini logs and arrange them side-by-side in a greased 9×5 loaf pan. This gives that beautiful, bakery-style scalloped top!
Step 6: Final Rise
Cover again and let rise for about 45 minutes to 1 hour, until puffed and just peeking over the edge of the pan.
Step 7: Bake to Golden Perfection
Preheat your oven to 350°F (175°C). Brush the top with the honey-milk mixture if you’re using it—trust me, it’s worth it. Bake for 25–30 minutes, or until golden brown on top and sounds hollow when tapped.
Step 8: Cool… If You Can Wait
Let it cool in the pan for 10 minutes, then turn out onto a wire rack. The smell alone will test your patience, but it slices best when it’s slightly cooled.
Pro Tips for Perfect Milk Bread Every Time:
- Weigh your flour if you can! It really makes a difference. 2¾ cups = about 330g.
- Don’t rush the rise. Good bread takes a little time, but it rewards you tenfold.
- For extra richness, add a tablespoon of dry milk powder to the dry mix.
- Want to make it extra indulgent? Swirl in a little cinnamon sugar before rolling up your dough logs!
Storage & Serving Suggestions:
Storage: Keep it in an airtight container or wrapped tightly in foil for up to 3 days at room temp. It freezes beautifully too—just slice before freezing and toast when ready to eat!
Serving Ideas:
- Toast with a pat of salted butter and a drizzle of honey 🍯
- French toast! This bread makes the most dreamy French toast ever.
- Grilled cheese? Oh yes. That touch of vanilla adds the most unexpected twist.


