
Hey y’all! Pull up a chair and grab your favorite mixing bowl—because I have a dessert that’s about to steal the show at your next get-together. This Pineapple Dream Dessert isn’t just a recipe—it’s a mood. It’s the kind of dish that makes you close your eyes after the first bite and go, “Mmm… that’s the good stuff.”
I stumbled into this one on a sleepy Sunday afternoon when I was craving something sweet but didn’t want to turn on the oven. (You know those days—when the laundry is still in the dryer, your coffee’s gone cold for the third time, and you just need a little moment of edible joy.) I peeked in the pantry, saw a lonely can of crushed pineapple, and—BOOM—the idea hit me like sunshine on bare toes.
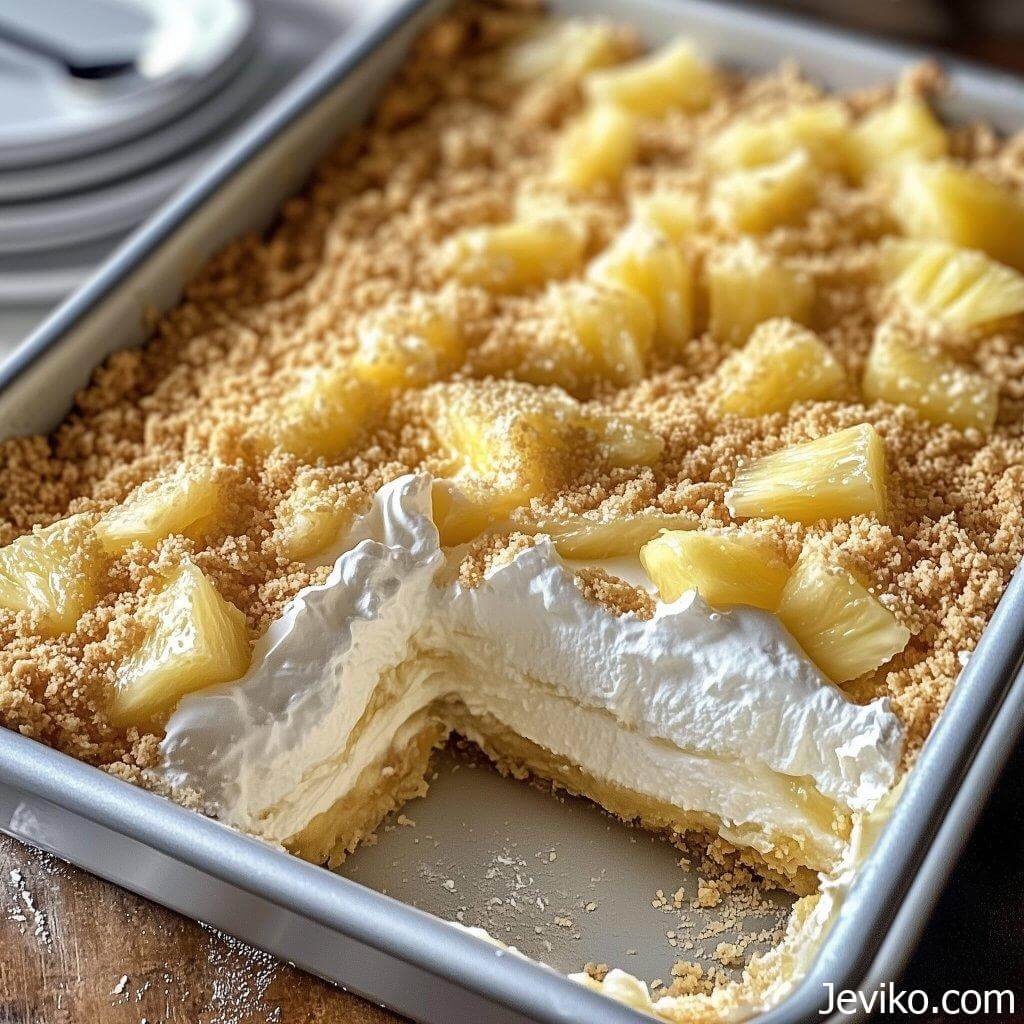
A buttery graham cracker crust, a cloud-like pineapple-cream filling, and that cool, dreamy finish? Oh honey, this one’s gonna be a keeper.
💛 Why This Dessert Belongs in Your Recipe Box?
- It’s no-bake and no-fuss—a lazy-day lifesaver.
- Has the dreamiest texture—silky, airy, and not too sweet.
- That sweet-tart pineapple punch brings just enough brightness to balance the richness.
- Can be dressed up or down—serve it plain, or jazz it up with toasted coconut or maraschino cherries.
- Tastes like a tropical vacation without leaving your kitchen.
Pineapple Dream FAQs ❓
Can I use pineapple chunks instead of crushed?
I wouldn’t recommend it—the crushed pineapple distributes evenly in the filling and gives you that creamy texture without big fruity interruptions.
Can I make this gluten-free?
Sure can! Just use gluten-free graham crackers for the crust, and double-check your whipped topping brand to make sure it’s safe.
Can I freeze this?
Technically yes, but the texture can get a little weird after thawing. If you do freeze it, wrap it super tight and eat it semi-frozen like an icebox cake!
Ingredients:
For the Crust:
- 2 cups graham cracker crumbs (I blitz mine in the food processor for that fine sandy texture)
- ½ cup salted butter, melted (use salted—it balances out the sweetness beautifully)
For the Filling:
- 8 oz cream cheese, softened to room temp (go full-fat for that luscious finish)
- ½ cup unsalted butter, softened (yes, butter in the filling—it’s what gives it that velvet feel)
- 1 cup powdered sugar, sifted (nobody wants surprise sugar clumps)
- 1 tsp vanilla extract (a splash of warmth in every bite)
- 1 (20 oz) can crushed pineapple, very well drained (we’re talkin’ borderline dry here)
- 1 (8 oz) tub whipped topping, thawed (or homemade whipped cream if you’re feelin’ fancy)
📝 Optional topping ideas:
- Toasted coconut flakes
- Extra graham cracker crumbles
- A sprinkle of lime zest
- Maraschino cherries (for that retro vibe)
Instructions:
- Build the base.
In a mixing bowl, stir together the graham cracker crumbs and melted butter until every crumb is glossy and golden. Press it firmly into the bottom of a 9×9-inch dish—I like to use the flat bottom of a measuring cup to get it nice and even. Pop it in the fridge while you work on the filling. - Whip it good.
In a large bowl, beat the cream cheese and softened butter together until it’s silky-smooth and fluffy. (Don’t rush this part—it’s the foundation of the filling.) - Sweeten and flavor.
Add in the powdered sugar and vanilla, and beat until the mixture is glossy and luscious. You want it to look like frosting at this point. - Fold in the sunshine.
Add the well-drained pineapple and gently fold it in—don’t overwork it or you’ll lose the fluff. Then gently fold in the whipped topping until everything is light and creamy and full of pineapple-y dreams. - Chill out.
Spoon the filling over your chilled crust and smooth it out. Cover with foil or plastic wrap and let it hang out in the fridge for at least 4 hours (overnight is even better—if you can wait that long!).
Insider Tips & Tricks:
- Drain that pineapple like you mean it. I actually press mine through a fine mesh strainer with the back of a spoon. If it’s too wet, the filling will turn runny.
- Want a firmer crust? Bake it at 350°F for 8 minutes, then let it cool completely before adding the filling. Adds a nice toasty note.
- Homemade whipped cream is lovely, but it won’t hold up as long—so if you’re prepping ahead for a party, stick with the whipped topping.
Let it fully chill before slicing—this gives it time to set up and slice cleanly.
🧊 Storage + Serving Suggestions:
- Keep it chilled! Store it in the fridge, tightly covered, for up to 4 days.
- For best results, serve cold—right out of the fridge is the sweet spot.
Serving ideas:
- A dollop of extra whipped topping and a cherry on top
- A sprinkle of lime zest for a citrusy pop
- Crushed pecans or walnuts for a little crunch
- Perfect for summer potlucks, Mother’s Day brunches, or when you just need a little tropical pick-me-up on a random Tuesday.


