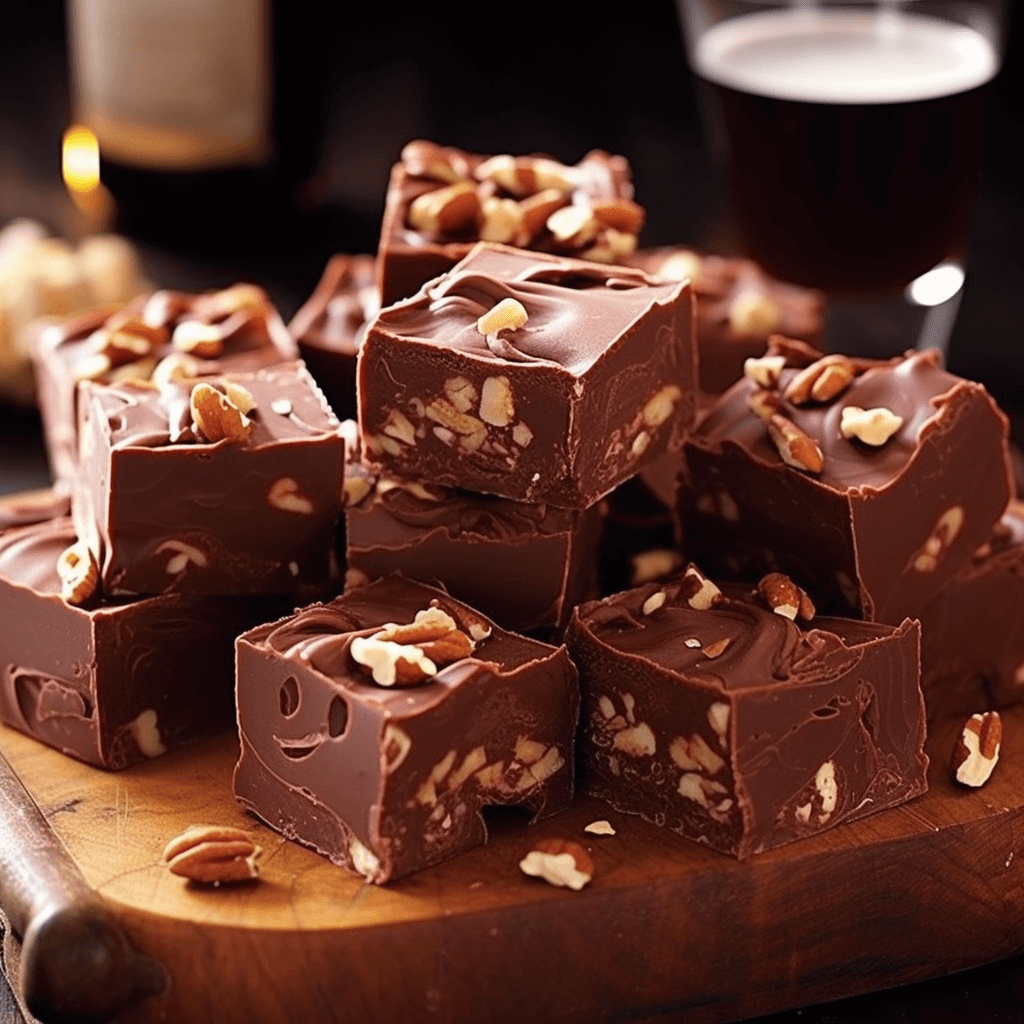
Hello, lovers of all things sweet! 🍫 This is Jeviko from Life with Jeviko, your go-to online sanctuary for deliciousness. On the menu today is an iconic confection that speaks for itself—a sumptuous, velvety, and absolutely delectable fudge! What’s the incentive to give this recipe a whirl? It’s the epitome of comfort food and so effortless to whip up that you’ll soon find yourself lost in its indulgent flavor.
Buckle up, because we’re about to awaken your inner dessert maestro and dive deep into the realm of homemade fudge. Once you sample this heavenly creation, you’ll question why you’ve been missing out all these years.
Substituting Evaporated Milk with Regular Milk?
Although it might seem convenient to opt for what’s already in your fridge, evaporated milk is truly the linchpin for achieving that creamy, melt-in-your-mouth consistency. Ordinary milk has a higher water content, which can result in a less creamy, more diluted fudge. For optimal creaminess, evaporated milk is your go-to.
No Medium-Sized Saucepan? What to Do?
The saucepan size is actually a crucial factor when concocting your fudge. A pan that’s too small can cause messy spill-over, whereas an oversized pan may lead to uneven cooking. If a medium-sized saucepan isn’t at hand, a slightly larger one can suffice—but vigilance is key to ensure even heat distribution.
Can I Switch Semi-Sweet Chocolate with White Chocolate?
Absolutely, especially if white chocolate tickles your fancy! Just note that white chocolate tends to be sweeter, so expect an even more sugary outcome.
Recommended Nuts?
Your options are as varied as nuts in a forest! Personally, I’m partial to walnuts or pecans due to their rich, earthy flavor. Almonds add a satisfying crunch. Nut allergies or personal preference? No worries—the fudge will still be divine without them.
Why Didn’t My Fudge Set?
Fudge-making can be temperamental, usually hinging on the boiling process. Ensure you maintain a rolling boil for a full 5 minutes, stirring constantly. Undercooking may compromise the setting process. Patience is your ally; allow ample time for cooling and setting.
Can I Freeze the Fudge?
Certainly! Wrap it snugly in plastic wrap and seal it in an airtight container. It’ll keep for 2-3 months. Thaw it in the fridge before you intend to enjoy it.
Prep Time: 10 minutes
Cook Time: 10 minutes
Cooling & Setting: 20-25 minutes (Longer is always better!)
Ingredients:
- 1 2/3 cups granulated sugar (Your sweetness foundation!)
- 2/3 cup evaporated milk (Creaminess personified)
- 1 tablespoon unsalted butter (For that luxurious richness)
- 1/2 teaspoon salt (A dash to counterbalance the sweet)
- 6 ounces semi-sweet chocolate chips (The spotlight ingredient!)
- 16 large marshmallows (The gooey goodness factor)
- 1 teaspoon vanilla extract (The aromatic finishing touch)
- 1 cup chopped nuts (Optional, but adds a welcomed crunch)
Instructions:
- Line an 8×8-inch pan with parchment paper—your future self will thank you when the fudge lifts out effortlessly.
- In a medium-sized saucepan, combine granulated sugar, evaporated milk, butter, and salt. The evaporated milk is key to achieving that indescribable creamy texture.
- Place the pan over medium heat, stirring continuously to avert scorching. Allow it to boil for a solid 5 minutes—this is critical for that flawless fudge consistency.
- Remove from heat and blend in the semi-sweet chocolate chips, stirring until fully melted.
- Add the marshmallows and stir until melted. Fold in vanilla extract to elevate the aroma and flavor.
- If you’re including nuts, add them now to introduce that crunch factor.
- Transfer the mixture into the pre-lined pan and await the magic as it cools and sets.
Tips:
- Dark chocolate chips can make the fudge more intense.
- Experiment with 1/4 teaspoon of peppermint, almond, or orange extract for added flair.
- Feeling daring? Try incorporating dried fruits, candy bits, or even sprinkles!
- The toughest part is the wait, but I promise, that inaugural bite is sheer euphoria. 🥳








Thank you for sharing