
— A Sweet Little Bite of Tropical Bliss You’ll Want to Keep All to Yourself (But Should Probably Share)
Welcome to My Kitchen!
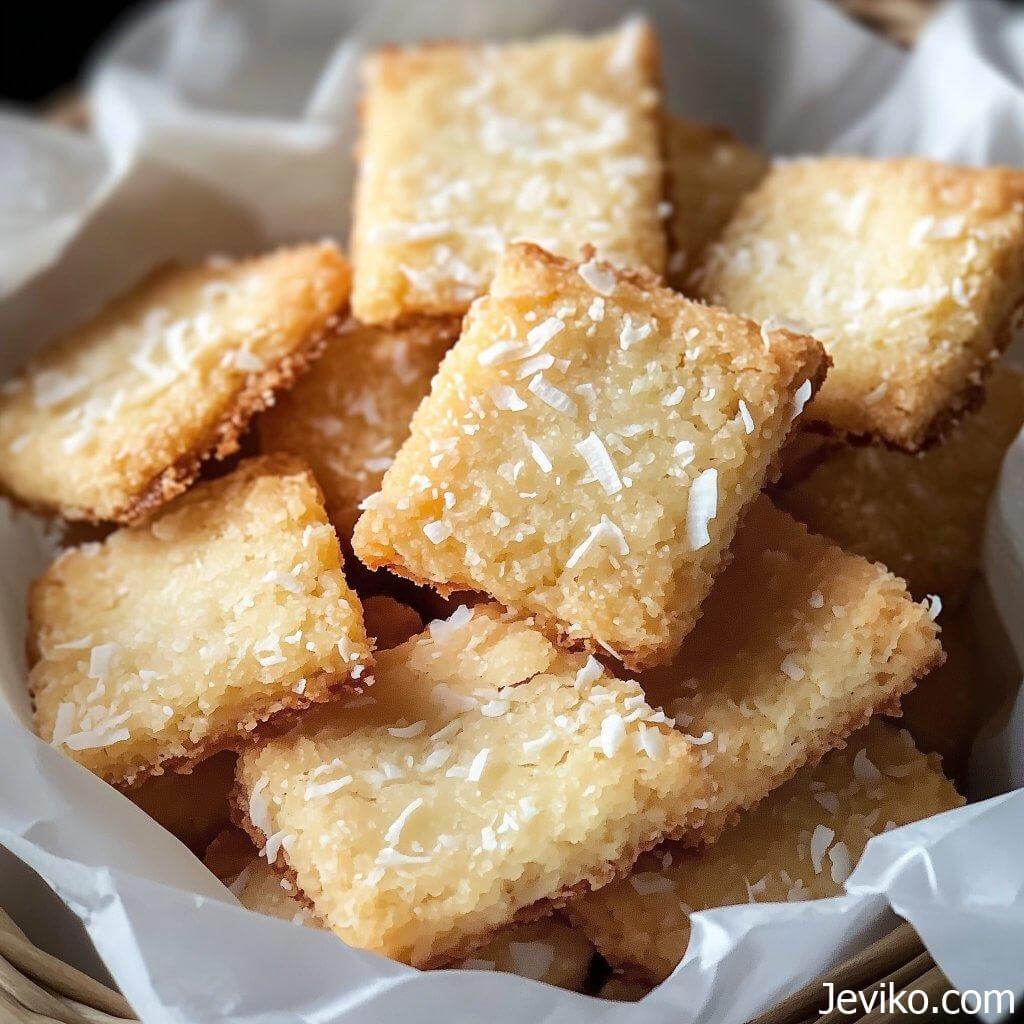
Oh, do I have a treat for you today! These Easy Coconut Shortbread Cookies bring back the sweetest memories of slow summer afternoons at my grandma’s house. She’d always have a plate of buttery shortbread waiting, but one day—when we were out of vanilla and rummaging through the pantry—I spotted a half-used bag of shredded coconut and thought, Why not?
Well, I’ll tell ya, that “why not” turned into a “why didn’t we always do this!?” That warm, nutty aroma of toasted coconut mingling with the buttery richness of shortbread? Absolute magic. These cookies are soft yet crisp, a little crumbly in that melt-in-your-mouth way, and just the right amount of sweet.
I couldn’t wait to share this one with y’all—it’s become a fast favorite in my family. Whether I’m sneaking one with my morning coffee or stacking them high for holiday cookie trays, they always disappear fast!
Why You’ll Love These Coconut Shortbread Cookies:
- Buttery and crisp, with just the right crumble—no dry bricks here!
- Toasted coconut adds a warm, nutty twist to classic shortbread.
- Just 6 pantry staples—nothing fancy, just good ol’ simple ingredients.
- No eggs, no fuss. Perfect for when you’re low on supplies but need a cookie fix.
- They keep well and are even better the next day (hello, lunchbox treat!).
- A blank canvas for drizzles, dips, or sandwiching with chocolate or jam.
Can I use unsweetened coconut instead of sweetened?
Yes, you can definitely use unsweetened shredded coconut—but there are a few things to keep in mind. Sweetened coconut not only adds more moisture and chewiness to the cookies, but it also enhances the overall sweetness and richness of the flavor. Unsweetened coconut has a drier, flakier texture and a more subtle taste, which can make the cookies slightly crumblier and less sweet overall.
If you go this route, I suggest giving the unsweetened coconut a light toast to bring out its natural nuttiness—just watch it carefully, as it browns much quicker than the sweetened kind due to the lower moisture content. You may also want to add an extra tablespoon of sugar to the dough to balance things out if you prefer your cookies on the sweeter side.
Do I really have to chill the dough before baking?
Chilling the dough is optional—but highly recommended for the best results. When you chill the dough for at least 20–30 minutes (or even overnight), a few magical things happen:
The butter in the dough firms up, which helps prevent the cookies from spreading too much in the oven.
The texture becomes more tender and crumbly, in that perfect shortbread way.
The flavors have time to meld together, making the cookies taste richer and more balanced.
If you’re short on time and skip the chilling step, the cookies will still taste good, but they may spread more and come out flatter and crispier rather than having that soft, buttery bite shortbread is known for. I say: go ahead and chill that dough—it’s totally worth the wait (and gives you time to preheat the oven and clean up!).
Can I make these gluten-free?
Yes! These cookies can be made gluten-free with great success, as long as you use a good-quality 1:1 gluten-free baking flour blend (like Bob’s Red Mill or King Arthur’s). These blends usually contain a mix of rice flour, tapioca starch, and xanthan gum to mimic the texture of traditional flour.
A few tips if you’re going the gluten-free route:
The dough might feel slightly softer or more delicate than usual—don’t panic! It will firm up after chilling.
The baked cookies may be a bit more tender and crumbly, which is actually lovely with shortbread.
Make sure not to overmix the dough after adding the flour blend. Just stir until everything comes together and then stop.
So yes, gluten-free friends, you can totally enjoy these cookies too!
Ingredients:
- 1 cup (2 sticks) unsalted butter, softened to room temp – this is the heart of the cookie, so don’t skimp!
- ½ cup powdered sugar, sifted – gives that delicate sweetness and smooth texture
- 1 tsp pure vanilla extract – optional, but lovely for depth
- 1¾ cups all-purpose flour, spooned and leveled
- ½ tsp kosher salt – just a touch to balance the sweetness
- ¾ cup sweetened shredded coconut, lightly toasted – you can use it straight from the bag, but toasting it takes these cookies up a notch
- Optional: Extra coconut or coarse sugar for sprinkling on top before baking
Instructions:
Step 1: Toast that Coconut (Trust Me!)
Preheat your oven to 325°F. Spread the shredded coconut on a parchment-lined baking sheet and toast it for about 5–7 minutes, stirring once or twice, until it’s golden and fragrant. Let it cool completely—it’ll crisp up as it cools!
Kitchen smells like a tropical bakery at this point. I’m not even mad.
Step 2: Cream the Butter & Sugar
In a large mixing bowl, beat the softened butter with the powdered sugar until it’s light, creamy, and fluffy. This takes about 2–3 minutes with a hand mixer on medium speed.
Step 3: Add the Vanilla & Dry Ingredients
Mix in the vanilla. Then, gradually add the flour and salt. Stir just until the dough starts coming together—it’ll be a bit crumbly but should hold its shape when pinched. Fold in the cooled, toasted coconut.
Step 4: Shape the Cookies
Scoop the dough by tablespoonfuls and gently roll into balls. Flatten slightly with your palm and place on a parchment-lined baking sheet about 2 inches apart. For a pretty finish, press a few extra flakes of coconut on top—or sprinkle with coarse sugar.
Step 5: Chill Before Baking (Don’t Skip!)
Pop the tray into the fridge for 20–30 minutes. This helps them hold their shape and keeps the texture nice and tender.
Step 6: Bake to Perfection
Bake at 325°F for 14–16 minutes, or until the edges are just barely golden. Let them cool on the pan for 5 minutes before transferring to a wire rack.
Pro Tips for Cookie Perfection:
- Don’t overbake. These cookies should be pale with just a kiss of gold on the edges. Overbaking = dryness.
- Soft butter only. No shortcuts here—cold butter won’t cream properly, and melted butter will mess up the dough texture.
- Make it your own! Add a teaspoon of lime zest for a citrus twist, or dip half in dark chocolate for an elegant upgrade.
How to Store & Serve:
- Storage: Keep these beauties in an airtight container at room temp for up to 1 week. You can also freeze them (baked or unbaked!) for up to 2 months.
- Reheating: Not necessary, but if you want that fresh-baked feel, warm one in the microwave for 6–8 seconds.
- Serving Ideas: Serve with a cup of black tea or strong coffee. Or sandwich two around a swipe of Nutella or lemon curd—oh yes, I went there!


