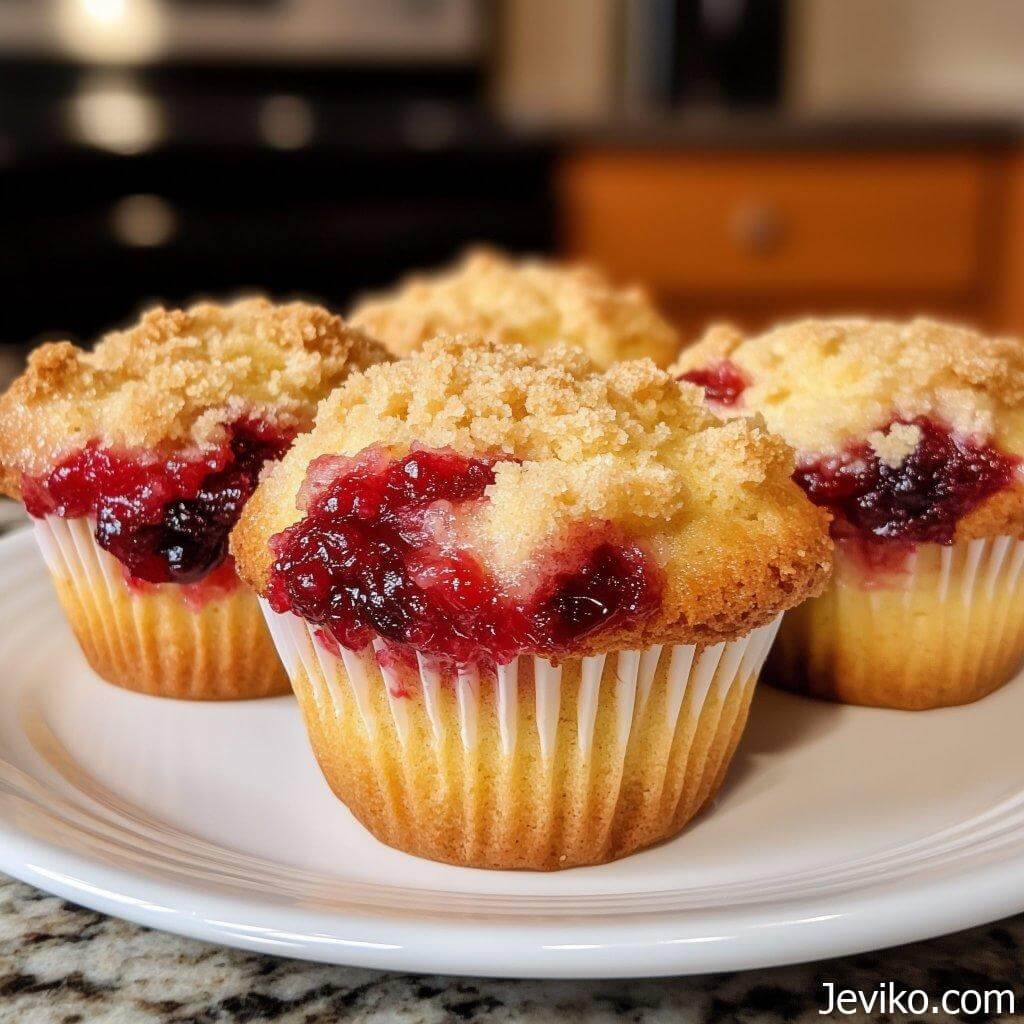
There’s something about cherries that just tugs at the heartstrings, isn’t there? That ruby-red juiciness, the sweet-tart pop with every bite—it’s like summer gave us a gemstone you can eat. This week, I found myself with a bowl full of cherries that were just on the edge of being too ripe, and I couldn’t bear to let them go to waste. That’s when the idea for these Cherry Cobbler Muffins was born.
These aren’t your average muffins, friends. They’re part tender breakfast treat, part dessert-worthy cobbler—with just enough crunch on top to make your kitchen smell like your grandmother’s house on a Sunday morning. I actually made a test batch while my sister was visiting, and the way her eyes lit up after the first bite? Pure magic. We sat on the back porch, coffee in hand, birds chirping, and I knew—I had to share this one with y’all.
🍒 Why You’ll Fall Head Over Heels for These Muffins?
Soft and cakey inside, golden and crumbly on top—like your favorite cobbler met a bakery-style muffin.
Bursting with fresh cherries that melt into little jammy pockets of flavor.
A touch of cinnamon gives warmth and depth that makes them feel extra homey.
Easy to make with ingredients you probably already have in your kitchen.
Perfect for breakfast, dessert, or a little afternoon pick-me-up with a cup of tea or coffee.
Can I use canned cherry pie filling instead of fresh cherries?
Yes, you can use canned cherry pie filling if fresh cherries aren’t available. Since the filling is already sweet and syrupy, I recommend using about half the amount (around ⅔ cup) and reducing the sugar in the batter by 2–3 tablespoons. This keeps the muffins from becoming overly sweet or too wet. Try to scoop mostly cherries with as little syrup as possible. The texture will be softer and more dessert-like, almost like a mini cherry cobbler. It’s a convenient option that still gives you rich cherry flavor in every bite.
Can these be made gluten-free?
Absolutely! To make these gluten-free, use a 1:1 gluten-free all-purpose flour blend that includes xanthan gum for structure. Brands like King Arthur or Bob’s Red Mill work well. Also, be sure your baking powder is gluten-free certified to avoid trace contamination. The texture may be a little more delicate, but the flavor holds up beautifully. Avoid overmixing the batter to prevent it from becoming gummy. These muffins are wonderfully adaptable and still turn out moist, fluffy, and delicious—whether you’re gluten-free for health reasons or just experimenting with new baking options.
What if I don’t have brown sugar for the crumb topping?
No brown sugar? No problem! You can substitute white sugar in the crumb topping. To replicate the rich flavor of brown sugar, stir in 1 teaspoon of molasses per ¼ cup of white sugar if you have it. This gives the topping that warm, caramel note cobbler lovers adore. If molasses isn’t available, the topping will still be sweet and crumbly—just a little lighter in flavor and color. You can also boost flavor with a dash of extra cinnamon or a pinch of nutmeg. It’s a flexible recipe, so use what you have and make it your own!
Ingredients:
Here’s everything you’ll want on hand. Don’t worry—nothing fancy here, just pantry staples and one big bowl of cherry goodness:
For the Muffins:
- 1 ½ cups all-purpose flour
- ½ cup granulated sugar (I use organic cane sugar for a subtle molasses note)
- ½ tsp ground cinnamon
- ¼ tsp nutmeg (optional but delightful)
- 2 tsp baking powder
- ¼ tsp baking soda
- ½ tsp salt
- ¾ cup whole milk (or buttermilk if you’ve got it!)
- ⅓ cup vegetable oil or melted butter
- 1 large egg
- 1 tsp pure vanilla extract
- 1 ¼ cups fresh cherries, pitted and halved (you can use frozen, just thaw and drain first)
For the Cobbler Crumb Topping:
- ½ cup all-purpose flour
- ¼ cup light brown sugar, packed
- ½ tsp cinnamon
- Pinch of salt
- ¼ cup cold unsalted butter, diced
Instructions:
- Step 1: Preheat and Prep.
- Start by preheating your oven to 375°F. Line a muffin tin with paper liners or spray generously with non-stick spray. I always give the liners a quick spritz too—no muffin left behind!
- Step 2: Make the Crumb Topping.
- In a small bowl, combine flour, brown sugar, cinnamon, and salt. Add cold diced butter and work it in with your fingers or a pastry cutter until the mixture looks like coarse, buttery sand. Pop it in the fridge while you work on the batter—it keeps the crumble from melting too fast when it bakes.
- Step 3: Mix the Dry Ingredients.
- In a large mixing bowl, whisk together the flour, sugar, cinnamon, nutmeg, baking powder, baking soda, and salt. Make sure it’s all evenly distributed—no spice pockets!
- Step 4: Add the Wet Ingredients.
- In a separate bowl or large measuring cup, whisk together the milk, oil (or butter), egg, and vanilla. Pour the wet into the dry and stir gently until just combined. It’s okay if it’s a little lumpy—we’re not going for pancake batter smooth here.
- Step 5: Fold in the Cherries.
- Gently fold in those gorgeous cherries. Don’t overmix or they’ll start to bleed and you’ll end up with pink batter (which, honestly, isn’t the worst thing).
- Step 6: Fill and Top.
- Scoop the batter into the muffin cups, filling each about ¾ full. Sprinkle a generous handful of the crumb topping over each one—don’t be shy. This is the “cobbler” part, and it’s what makes them sing.
- Step 7: Bake and Breathe In the Goodness.
- Bake for 18–22 minutes, or until the tops are golden brown and a toothpick comes out clean (with maybe a smidge of cherry juice). Let them cool in the pan for 5 minutes before transferring to a wire rack.
Pro Tips for Muffin Perfection:
- Use fresh cherries if you can—pitting them is a little messy, but worth it. I use a metal straw to push the pits out!
- Don’t overmix the batter. A light hand = fluffy muffins.
- Want to add a twist? Stir in a handful of white chocolate chips or chopped almonds for texture and sweetness.
- If your crumb topping seems too dry, add a tiny splash of melted butter to help it clump better.
Storage & Serving Ideas:
These muffins will keep on the counter (loosely covered) for 2–3 days, or in the fridge up to 5. Just warm them up for about 10 seconds in the microwave to bring back that fresh-baked magic.
They’re lovely with:
- A pat of butter and a drizzle of honey
- A scoop of vanilla ice cream if you’re turning them into dessert
- A cup of strong coffee or chilled almond milk on a summer morning