
Rustic, golden-crisp bites of comfort—just like the ones your grandma would sneak off the skillet when no one was looking.
Let me tell you, these Amish Onion Fritters have a way of turning back the clock. One bite and I’m back on my aunt’s porch swing in rural Pennsylvania, watching fireflies wink over the cornfields and listening to the oil pop and sizzle from her little kitchen window. You know that warm, slightly sweet scent of onions frying in a cast iron pan? It’s the kind of smell that draws everyone in from the yard with promises of something cozy and delicious.
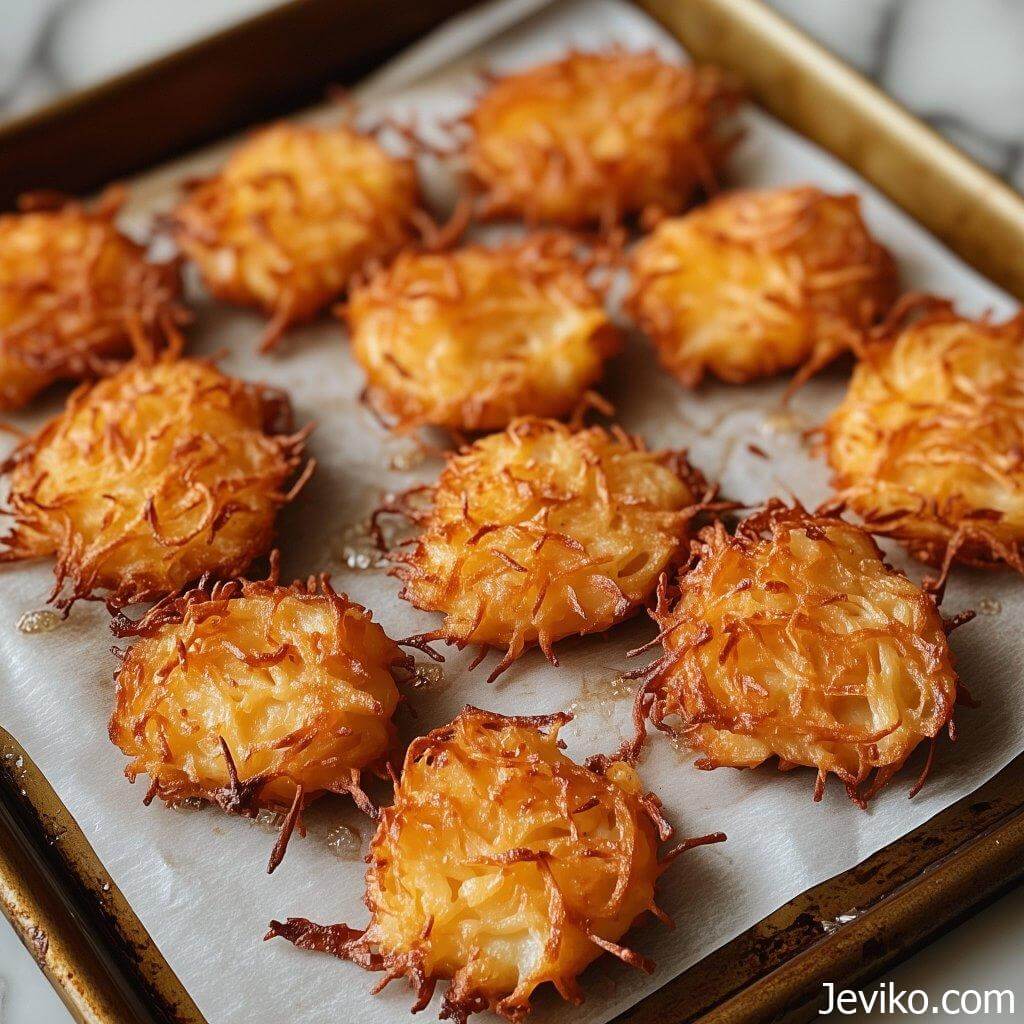
I started making these when I was craving something savory but homey—something that tasted like simpler times. No frills. Just honest-to-goodness comfort food that makes you sigh a little after the first bite. These fritters are golden, crunchy on the edges, and packed with that mellow, caramel-like onion flavor that’s just chef’s kiss. Honestly, they’re dangerous in the best possible way. You’ve been warned!
💛 Why These Onion Fritters Will Steal Your Heart?
- Crispy, craggy edges that give every bite a satisfying crunch.
- Sweet, melty onion flavor that only gets better as it cooks.
- Quick and pantry-friendly—no weird ingredients or fuss.
- Versatile as can be—serve them with soup, eggs, or a side of dipping sauce and call it dinner.
- Customizable—add herbs, a little heat, or even a handful of shredded cheese for a twist!
Can I make these ahead of time?
Yes! Fry them a few hours ahead and re-crisp in a hot oven right before serving.
Can I freeze them?
You sure can. Let them cool completely, then freeze in a single layer before transferring to a freezer bag. Reheat straight from frozen in a hot oven or air fryer.
Can I skip the cornmeal?
You can, but you’ll miss that extra bit of texture. If you don’t have it, sub with fine breadcrumbs for a similar effect.
📝 What You’ll Need:
Let’s talk ingredients. Simple, yes—but each one plays its part. Here’s what you’ll need:
- 2 large sweet onions, chopped finely (Vidalia or any mild, sweet variety works beautifully)
- 1 cup all-purpose flour
- 1 tablespoon yellow cornmeal (for that subtle crunch and rustic feel)
- 1 teaspoon baking powder
- 1/2 teaspoon sugar (trust me—it brings out the onion’s natural sweetness)
- 3/4 teaspoon kosher salt
- 1/4 teaspoon freshly cracked black pepper
- 1/2 teaspoon smoked paprika (optional, but adds a cozy, campfire kind of depth)
- 1/2 cup whole mil
- 1 large egg
Neutral oil for frying (like vegetable or canola—enough to shallow-fry)
🧄 Want a little kick? Add a pinch of cayenne or stir in a teaspoon of minced garlic for an extra punch.
Instructions:
Ready to get frying? I’ll walk you through it like we’re cooking side-by-side. Here we go!
- Chop the onions.
Not too chunky, not too fine—you want them small enough to hold together in the batter, but big enough to feel that bite. If you’re sensitive to onions, chill them for 10 minutes before chopping—it tames the tears! - Whisk your dry stuff.
In a large mixing bowl, combine the flour, cornmeal, baking powder, sugar, salt, pepper, and paprika. Give it a good stir to evenly distribute the flavor. - Add the wet ingredients.
In a small bowl, whisk together the milk and egg until smooth. Pour this mixture into your dry ingredients and stir until just combined—no need to overmix. It should look thick, like lumpy pancake batter. - Fold in those onions.
Stir in your chopped onions until they’re well coated. The batter will feel thick and sticky, kind of like savory oatmeal. That’s perfect. - Get the oil hot.
Heat about 1/4 inch of oil in a heavy-bottomed skillet over medium heat. Drop in a tiny bit of batter—if it bubbles immediately and rises to the surface, you’re good to go. - Fry ‘em up.
Use a spoon or small scoop to drop mounds of batter into the hot oil, gently pressing them down to flatten slightly. Don’t overcrowd the pan—give them space to crisp up! Fry for 2–3 minutes per side, or until they’re deeply golden and irresistible. - Drain and cool slightly.
Transfer fritters to a paper towel-lined plate and let them cool for just a minute or two. Then dig in—preferably while they’re still warm and whispering your name.
Pro Tips for Perfect Results:
- Use the right onion. Sweet onions are the star here. Regular yellow onions can work, but they’ll be sharper and less mellow.
- Watch your oil temp. If the oil’s too cool, they’ll soak it up and get greasy. Too hot, and they’ll brown too fast. Aim for medium heat—think gentle sizzle, not wild popping.
- Flatten just a bit. Pressing the batter down slightly in the pan helps them cook evenly and crisp all the way through.
- Try cast iron. If you have one, use it! Cast iron holds heat beautifully and gives you that deep, even browning.
🥡 Storing & Serving Suggestions:
To store: Leftovers? I salute your self-restraint. Store them in an airtight container in the fridge for up to 3 days. Layer with parchment if you’re stacking them.
To reheat: Skip the microwave—it makes them floppy. Use the oven (375°F for 8–10 minutes) or a skillet with a light drizzle of oil to bring back that crunch.
How to serve them:
With a dollop of sour cream or chive mayo.
Next to scrambled eggs and toast for breakfast-for-dinner vibes.
Dunked in spicy aioli or honey mustard.
Alongside a big bowl of chili or stew on a cold night.


