
I still remember the day this recipe happened. I wasn’t trying to make anything fancy — just a simple vanilla cake for my daughter’s birthday. But when I opened the fridge, two blocks of cream cheese were sitting there, waiting to be used before they expired. I had no plan, just curiosity. I tossed one block into the cake batter, hoping for the best.
That was the beginning of what’s now the most-requested dessert in my house.
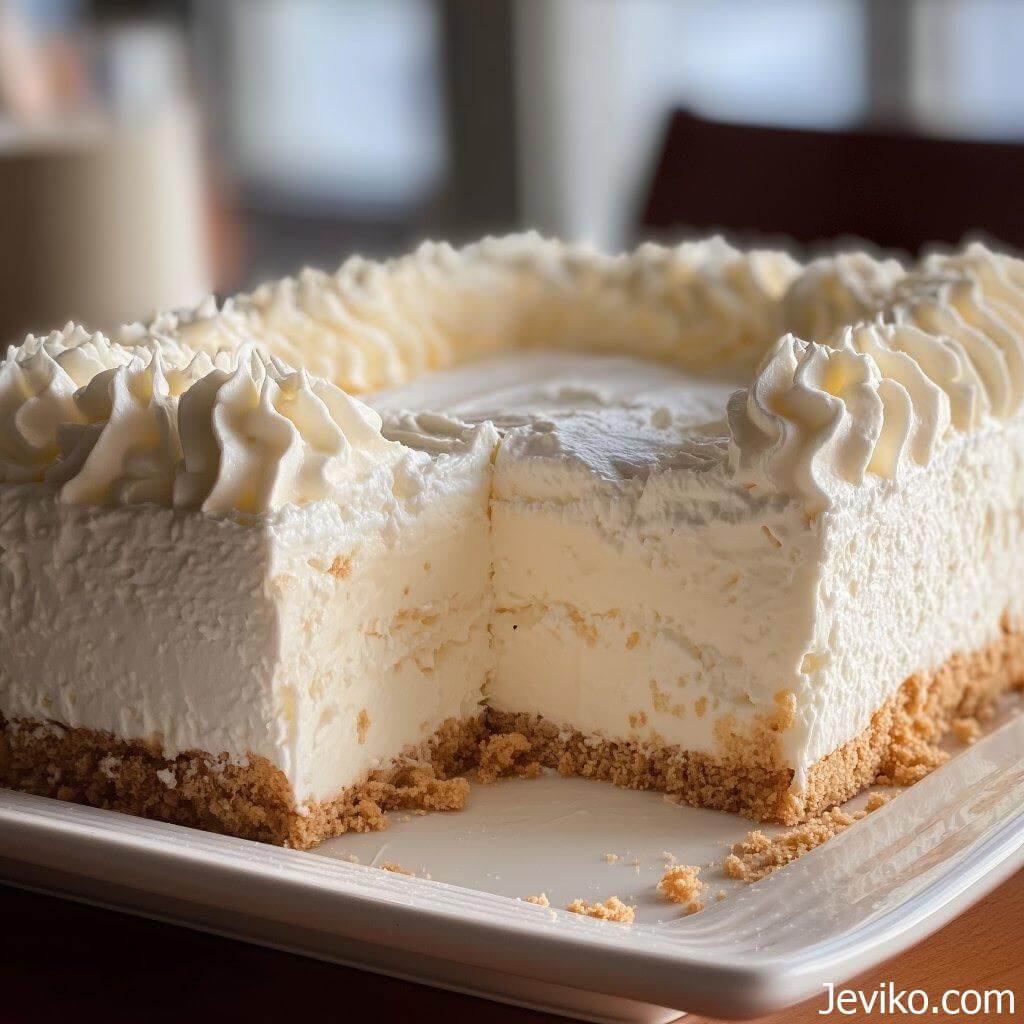
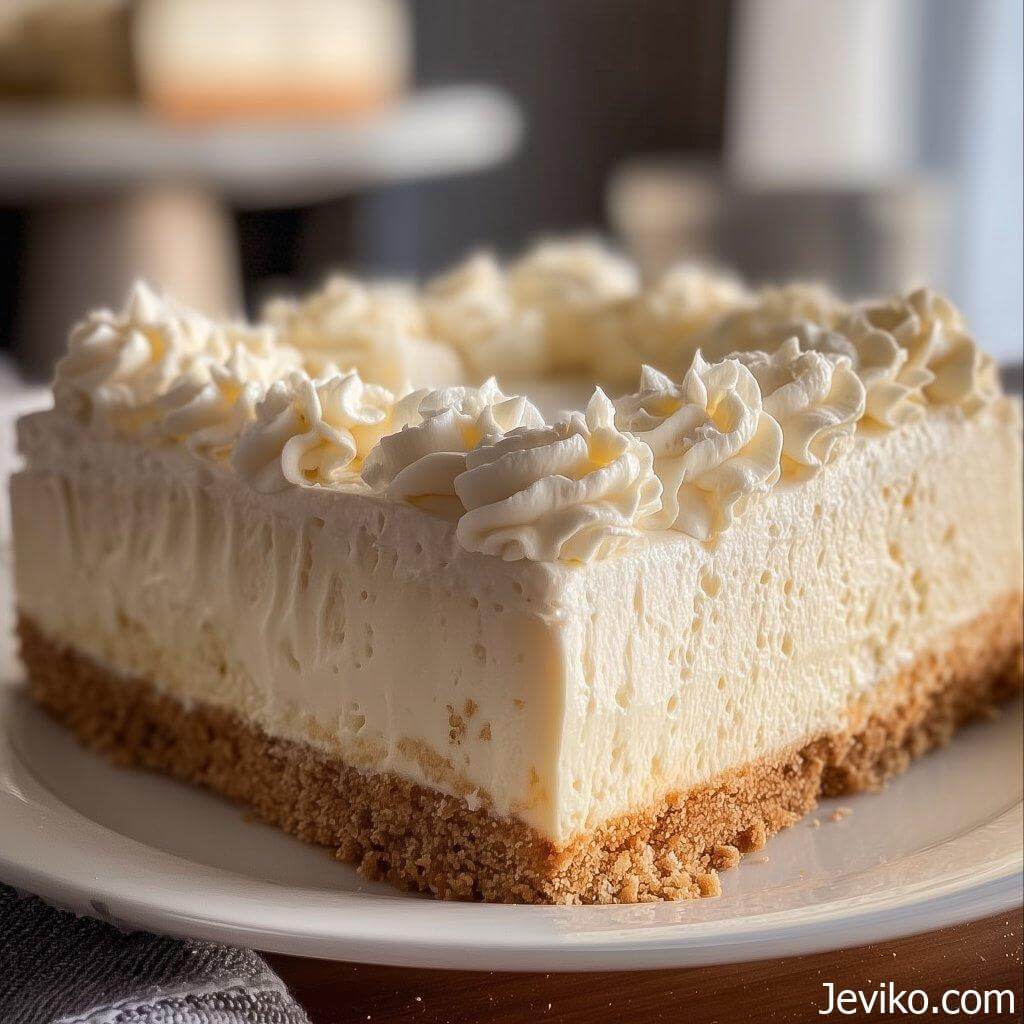
The moment I pulled it out of the oven, I knew something was different. The cake was tender, rich, and slightly tangy, with a crumb so moist it almost shimmered. The flavor sat somewhere between cheesecake and pound cake — soft, buttery, and luxurious without being heavy. Everyone kept asking what made it taste so good, and honestly, at that point, I didn’t know. It was pure luck.
Since then, this has become my signature dessert. It’s the cake I make when I want something comforting but still elegant, something that looks impressive on a table without any complicated steps or decorations. It bakes perfectly in a simple 9×13 pan, and it’s one of those rare cakes that actually gets better after a night in the fridge.
The Secret Behind the Texture:
This cake works because of double cream cheese — one block in the batter, another in the frosting. The first gives the cake body and moisture that lasts for days. The second makes the frosting smooth, tangy, and balanced.
The key is to let the cream cheese soften completely before you start. If it’s even a little cold, you’ll end up with lumps that refuse to blend out. I usually take mine out of the fridge an hour ahead — longer if the kitchen’s cool. When it’s perfectly soft, it blends like butter and creates that velvety batter we’re after.
And then there’s buttermilk — the unsung hero of this cake. It doesn’t just add flavor; it reacts with the baking powder to lift the crumb, keeping it tender and light. Regular milk can’t do that, so trust me, use the buttermilk.
Mixing It Right:
Technique matters more than equipment here. Start by beating the cream cheese until it’s completely smooth. Take your time on this step — it’s what keeps the texture silky. Then add the oil and sugar, blending until the mixture looks pale and fluffy.
In another bowl, whisk your flour, baking powder, and salt. Mixing the dry ingredients separately ensures that the leavening is evenly distributed. Once you combine the two, go gently. Stir just until the flour disappears. The moment the batter looks uniform, stop. Overmixing is what makes cakes dense, and this one deserves to stay light.
The oven temperature — 325°F — might look low, but it’s intentional. A slower bake keeps the edges from browning too quickly and allows the center to cook evenly. The top should turn a soft golden color, and when you test it with a toothpick, you want to see a few moist crumbs, not a completely clean stick. That’s when it’s perfect.
The Frosting That Makes It Shine:
Now, let’s talk about that frosting.
It’s simple — just butter, cream cheese, vanilla, salt, and powdered sugar — but the order and patience make all the difference. Beat the butter and cream cheese together first until the mixture is completely smooth and fluffy. That’s your base. Then, little by little, add the powdered sugar. Dumping it all at once creates lumps and a sugar cloud that covers your counter. Slow and steady wins here.
You’ll know the frosting’s right when it’s thick enough to hold its shape but still soft enough to glide across the cake without tearing it. If it’s too thick, a tablespoon of milk will loosen it. Too thin? Add more powdered sugar, one cup at a time.
Don’t skip the half teaspoon of salt. It seems like nothing, but it makes all the difference — it cuts the sweetness and brings out that cream cheese flavor beautifully.
The Chilling Trick:
This cake is good right after you frost it, but it becomes something else entirely once it chills. A few hours in the fridge turns the texture dense yet creamy, and the flavors come together in the most satisfying way. I always make it the day before I plan to serve it — not only does it taste better, but it also makes entertaining so much easier.
When you’re ready to serve, let it sit at room temperature for 10 or 15 minutes. It softens slightly and slices beautifully — every piece clean and neat, with the frosting holding its shape just right.
Storage:
Cover any leftovers tightly with plastic wrap or keep them in an airtight container. The cake stays fresh and moist in the refrigerator for up to five days. It rarely lasts that long in my house, but it’s nice to know it could.
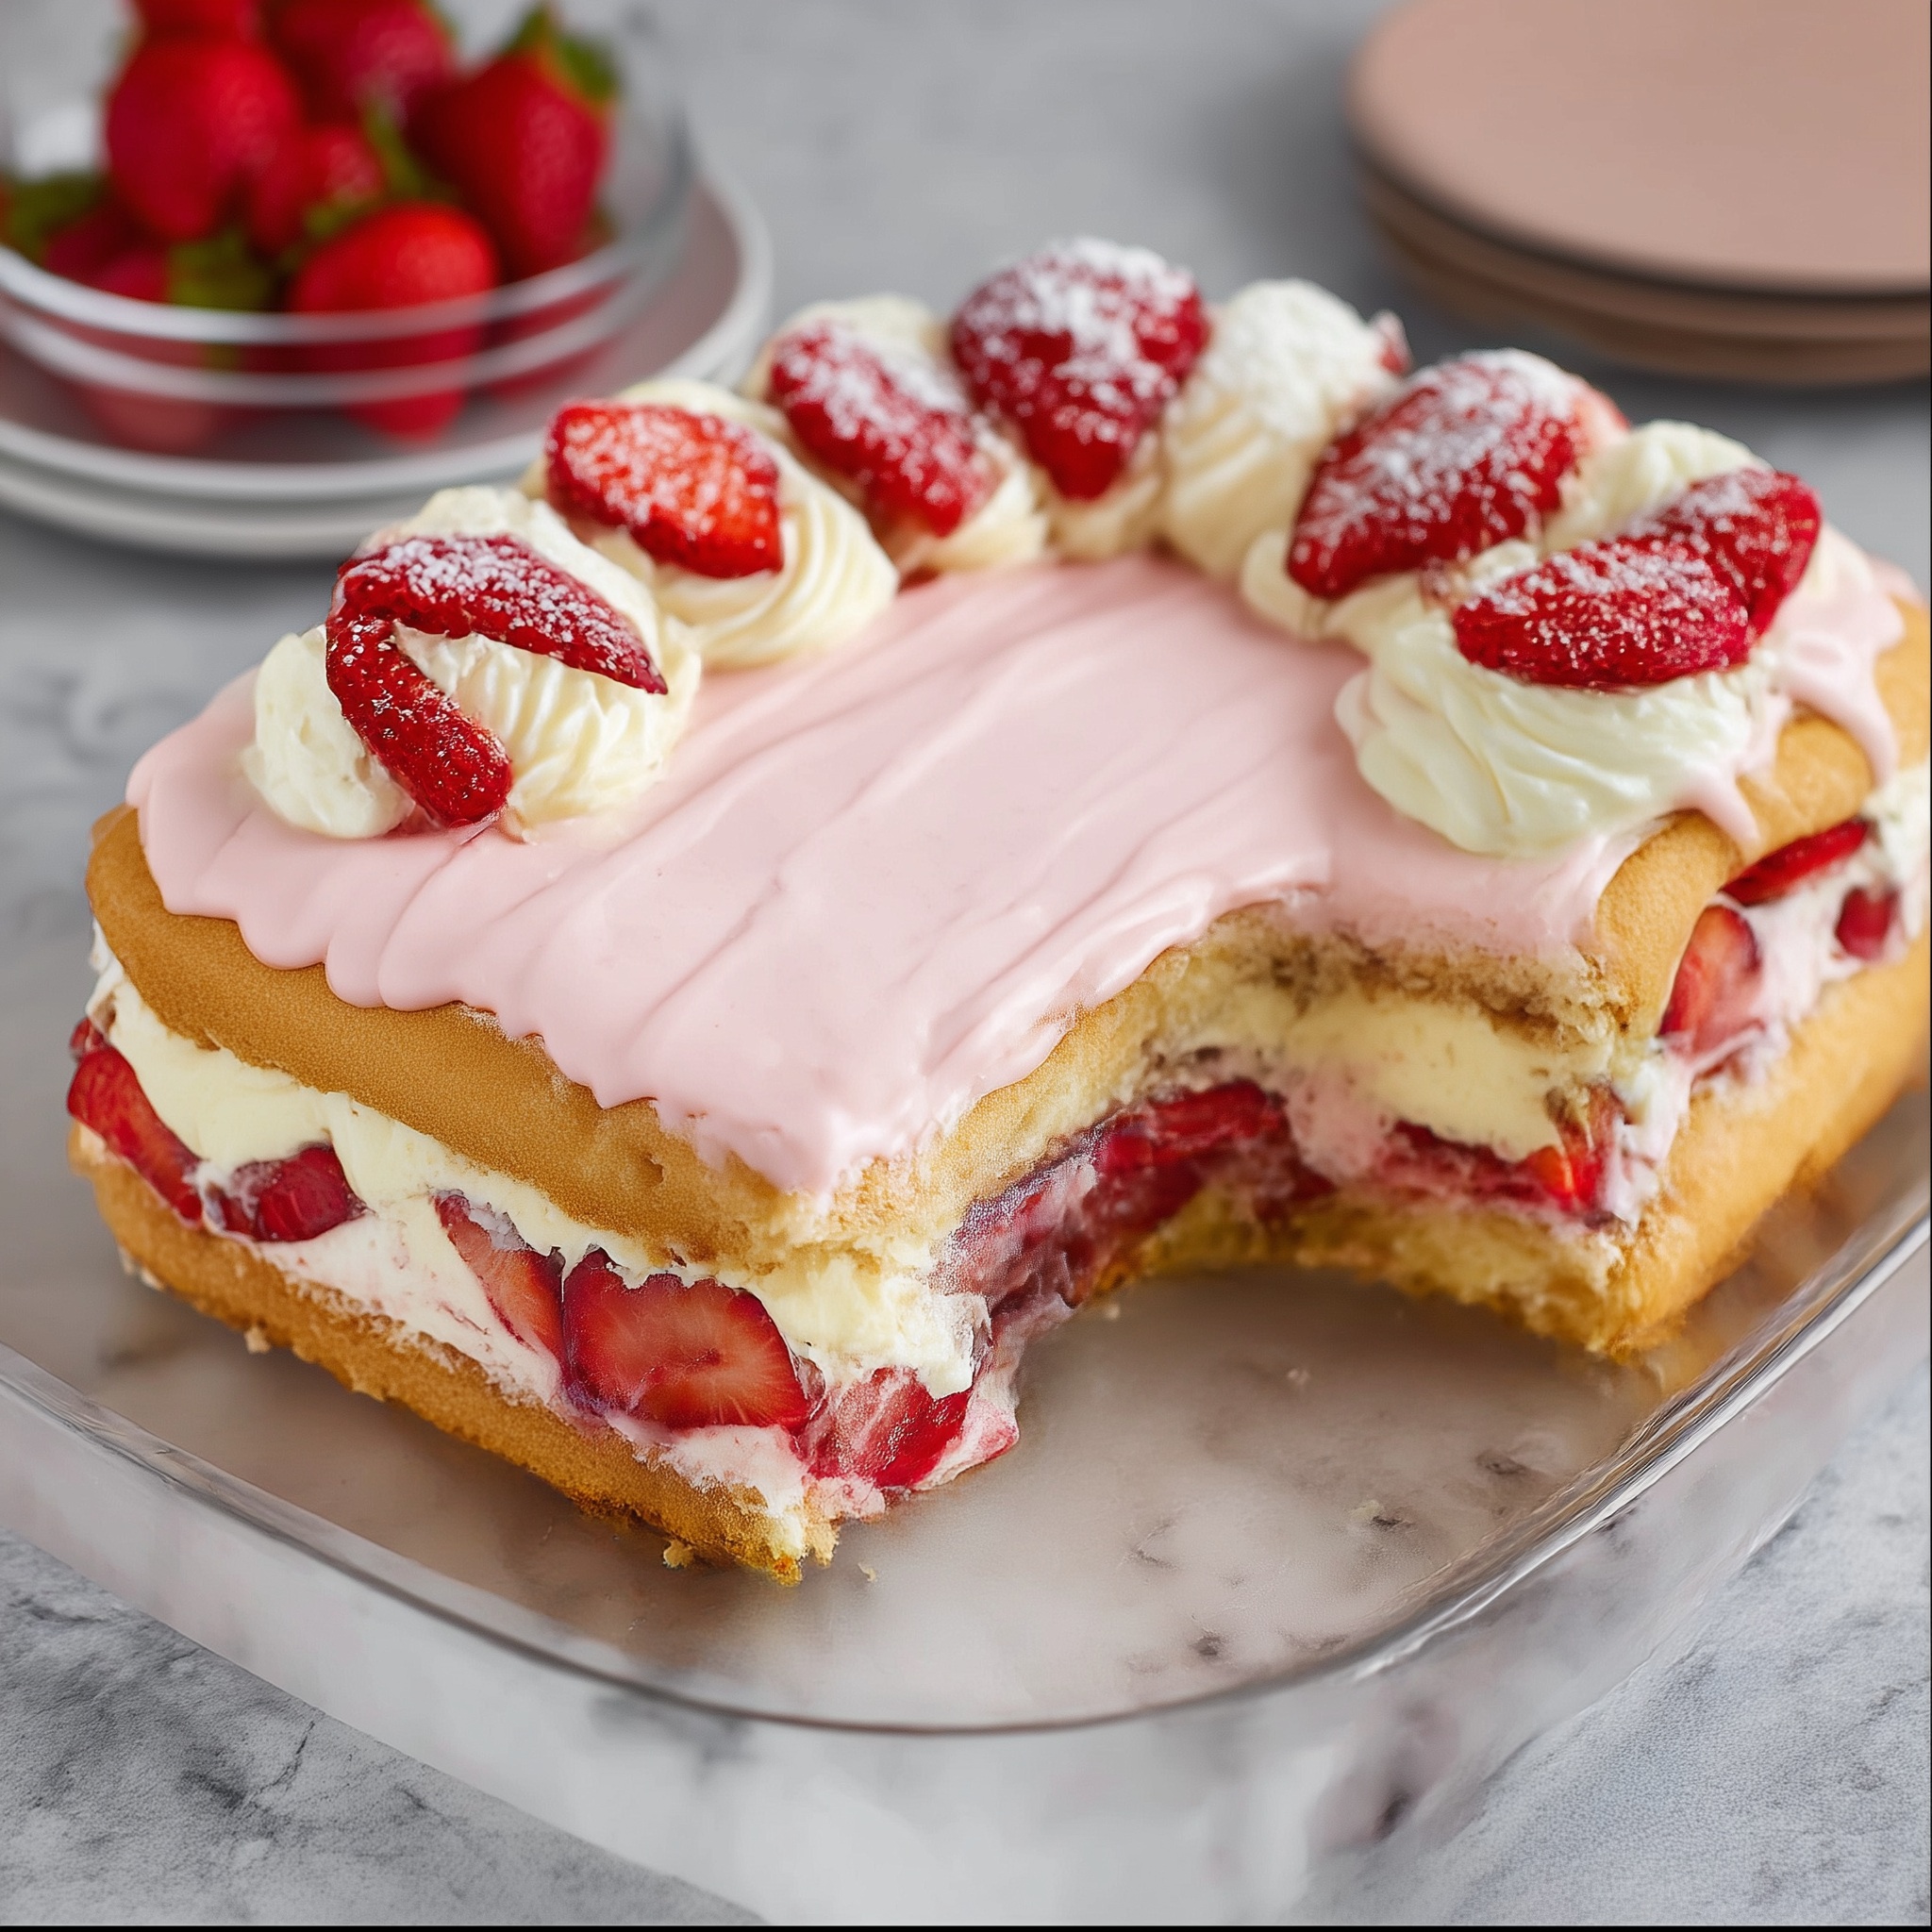
Variations:
This recipe is the perfect blank canvas. A tablespoon of lemon zest turns it bright and citrusy — perfect for spring. Add fresh berries to the batter (tossed in flour first so they don’t sink) for a more elegant twist. I’ve even swirled in a few spoonfuls of raspberry jam before baking, and it looked like something straight from a bakery display.
No matter how you make it, the result is always the same — a cake that feels familiar and indulgent at once.
Cream Cheese Cake
Prep Time: 15 minutes
Cook Time: 35–40 minutes
Chill Time: 30 minutes
Total Time: 1 hour 25 minutes
Yield: 12 servings
Ingredients
For the Cake:
- 1 (8 oz) package cream cheese, softened
- ¾ cup vegetable oil
- 2 cups granulated sugar
- 3 large eggs
- 1½ teaspoons vanilla extract
- 3 cups all-purpose flour
- 1 tablespoon baking powder
- 1½ teaspoons salt
- 1¼ cups buttermilk
For the Frosting:
- 1 cup (2 sticks) unsalted butter, softened
- 1 (8 oz) package cream cheese, softened
- 2 teaspoons vanilla extract
- ½ teaspoon salt
- 4–5 cups powdered sugar, adjusted for consistency
Directions:
- Preheat oven to 325°F (163°C). Grease a 9×13-inch baking dish.
- In a large bowl, beat the cream cheese until smooth and fluffy. Add the oil and sugar; mix until combined and slightly airy.
- Add eggs one at a time, mixing after each. Stir in vanilla.
- In another bowl, whisk flour, baking powder, and salt. Gradually add to the wet ingredients, mixing only until combined.
- Pour in buttermilk and stir gently until the batter is smooth. Avoid overmixing.
- Spread into the prepared pan and bake 35–40 minutes, or until a toothpick inserted in the center comes out with a few moist crumbs.
- Let the cake cool completely before frosting.
- For the frosting: beat butter and cream cheese together until creamy. Add vanilla and salt. Gradually beat in powdered sugar until thick, smooth, and spreadable.
- Frost the cooled cake and refrigerate for at least 30 minutes before slicing.
- Storage: Keep covered and refrigerated for up to five days. Serve chilled for the best flavor and texture.
Final Thoughts:
This cake has become my quiet favorite — no layers, no decorating, no stress. Just a simple, rich dessert that tastes like comfort with every bite. I’ve made it for birthdays, holidays, and even random Tuesdays when I just wanted something sweet that felt special.
It’s proof that sometimes, the best recipes come from happy accidents — the kind that start with a couple of ingredients you didn’t mean to use and end with something you’ll make for years.


How did you make the graham cracker bottom of the cake?