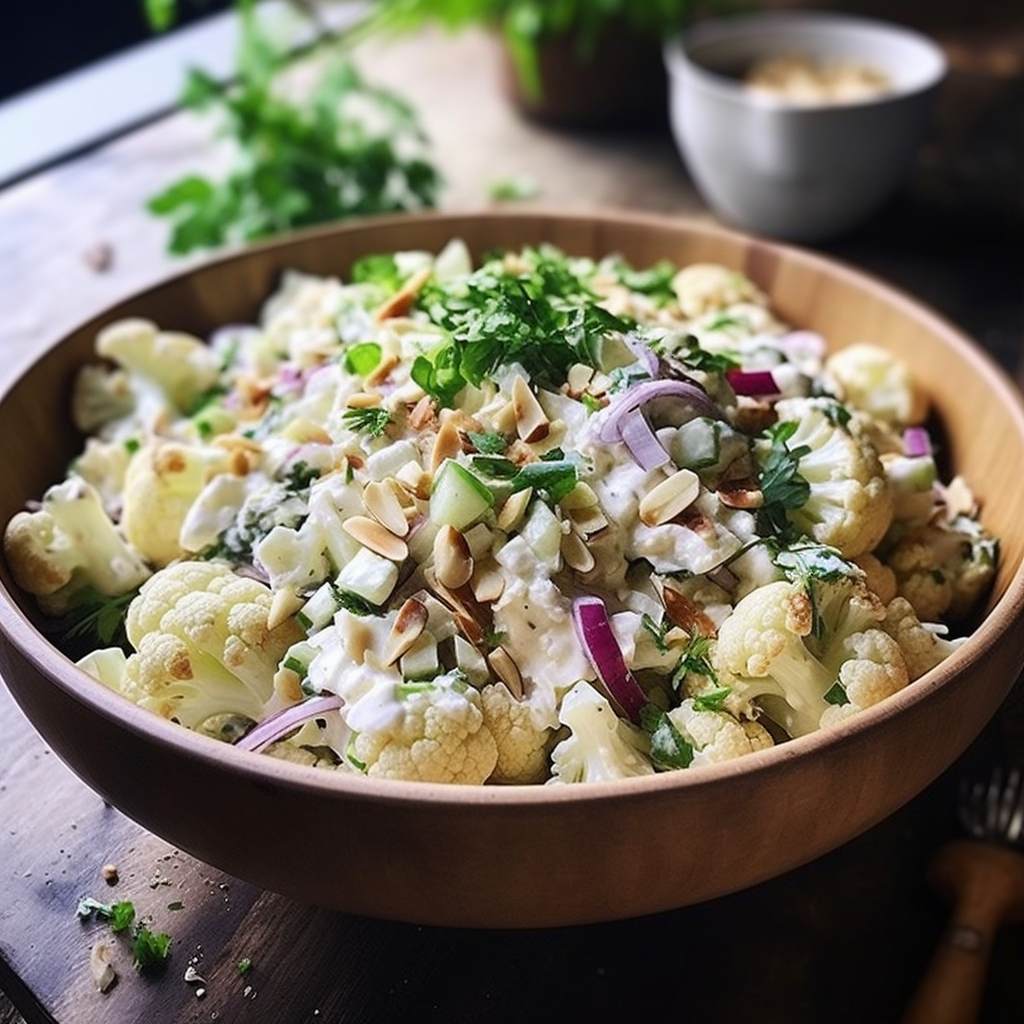
Hello, my beloved visitors! . If you’re anything like me, you’re always on the hunt for dishes that surprise your palate while nurturing your body. Do you ever think about those picnic days when you crave something light yet flavorful? This Cauliflower Salad I’m about to introduce is your picnic savior!!🥗
Can I use frozen cauliflower instead of fresh?
Absolutely! If you’re short on time or fresh isn’t available, frozen cauliflower works. Just ensure you thaw it completely and drain any excess water before blanching.
What’s a good substitute for feta cheese?
If feta isn’t your thing or you’re looking for a twist, try goat cheese or even small cubes of mozzarella for a creamier texture!
Can I skip the olives?
Of course! While olives add a salty punch to the salad, it’s still delicious without them. Remember, customize the salad to your liking!
How long can I store this salad in the fridge?
The salad tastes best when eaten fresh, but it can be stored in an airtight container in the fridge for 1-2 days. If you’re planning to store, add the dressing just before serving to keep it fresh and crunchy.
I’m not a fan of raw onions. Any suggestions?
You can either skip the onions or soak the diced red onions in cold water for about 10 minutes before adding them to the salad. This technique softens their pungency while retaining their crunch.
Prep Time: 20 minutes
Cook Time: 3 minutes
Total Time: 1 hour 23 minutes
Ingredients :
- 1 large cauliflower (cut into bite-sized florets)
- 1/2 cup (around 8-10) cherry tomatoes (cut into halves)
- 1/2 cup cucumber (diced)
- 1/4 cup red onion (finely diced)
- 1/4 cup fresh parsley (finely chopped)
- Optional: 1/4 cup fresh mint leaves (chopped)
- Optional: 1/2 cup feta cheese (crumbled)
- Optional: 1/4 cup olives (sliced in halves)
- 3 tablespoons olive oil
- 2 tablespoons lemon juice (freshly squeezed is best!)
- 1 garlic clove (grated or minced)
- Salt and pepper (season to your liking)
Instructions:
- Blanching isn’t just about cooking; it’s about preserving the vibrant color and crispness of your veggies. Start by boiling a pot of salted water and immersing the cauliflower florets for a quick 2-3 minutes. Aim for them to retain their vibrant hue and crunch. Immediately after, plunge them into icy water — this little trick seals in that lovely color and texture. Once they’ve enjoyed their cold bath, drain them and set aside.
- Next up, let’s whip up a dressing that will elevate this salad to the next level. Mix together the olive oil, fresh lemon juice, and minced garlic in a bowl. Season it with a sprinkle of salt and a dash of pepper. And here’s the fun part — make it truly yours. Adjust to your liking, whether you want it tangier, saltier, or with an extra kick of garlic.
- Now, gather all the prepped veggies. In a big bowl, combine the cauliflower with the tomatoes, cucumber, onion, parsley, and mint. Pour that zesty dressing over the lot and toss everything together. Picture it: every ingredient grooving with the other, sharing flavors, and creating a harmonious dish.
- Feeling a little fancy? Or maybe you’re just in love with the flavors of the Mediterranean. Either way, now’s the time to scatter in the feta cheese and olives. Their salty notes play so well with the fresh veggies.
- But here’s where a smidge of patience comes in. Let this bowl of goodness chill in the fridge for about an hour. It may feel long, but it’s during this time that the magic truly happens. All the ingredients mingle, and the flavors intensify. Once that hour’s up, trust me, every bite will be worth the wait!
Cooking tips:
- When it comes to baking, it’s all about the precision. Whether it’s measuring out your ingredients or setting the right oven temperature, the smallest detail can make a world of difference. Start by investing in a good set of measuring cups and spoons. And don’t just scoop directly from the flour bag; lightly spoon it into your measuring cup, then level it off with a knife. This ensures you get the exact amount needed.
- Temperature matters, not just in the oven but with your ingredients too. If a recipe calls for room temperature butter or eggs, there’s a reason behind it. It allows for smoother mixing and better incorporation of ingredients. So, if you’re an impromptu baker, try to plan a bit ahead.
- Now, speaking of the oven, always preheat! Baking is a science, and your recipes need the right environment from the get-go. While you’re at it, consider getting an oven thermometer. It’s a nifty little tool to ensure your oven’s temperature is spot-on.
- Ever felt the dough sticking to your rolling pin? Here’s a nifty trick: chill the rolling pin in the fridge for about 15 minutes before using it. Not only does it prevent sticking, but it also helps maintain the dough’s temperature, especially if you’re working with pie crusts or cookies.
- Lastly, don’t be afraid to trust your instincts. Even with all the exact measurements and temperatures, baking is as much an art as it is a science. If you feel like adding a dash of this or a sprinkle of that, go for it! Just remember to make a note so you can replicate (or adjust) the next time around. Happy baking!


